Estimated reading time: 30 minutes
Biochar is one of the best things to add to your soil to make it and your fruit trees healthier and more productive.
We’re also big fans of keeping costs down when growing your own food, so today we’re sharing two methods for making biochar in the backyard. (You might also be interested in the very simple biochar in a bathtub method.)
Learning how to make biochar in the backyard
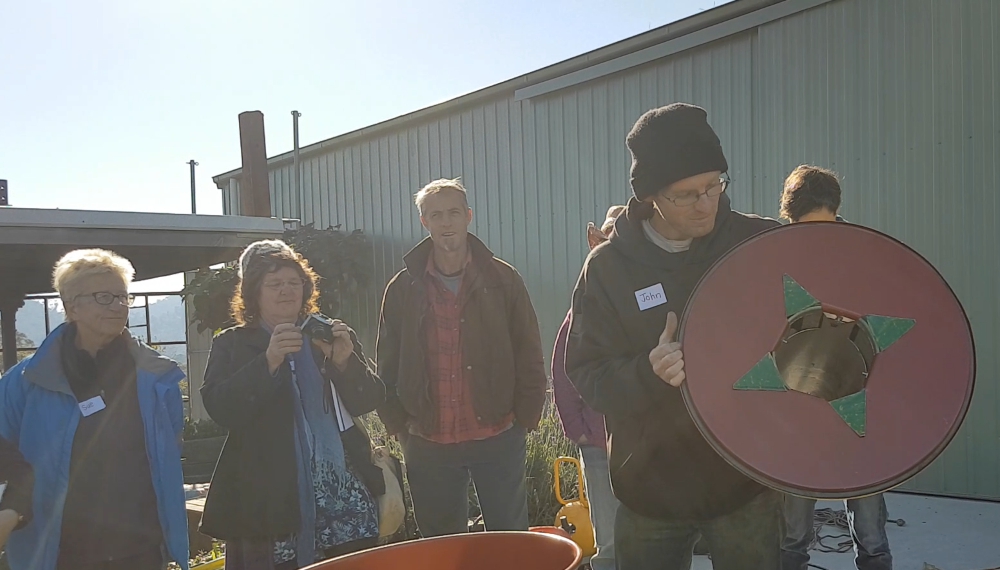
We learned these methods at a workshop we hosted at the farm in collaboration with Growing Abundance and presented by biochar experts John Sanderson and Lann Falconer from Earth Systems.
During the workshop, John taught us how to build two different biochar systems:
- Top Lit Updraft (TLUD) – for small stuff like grass, leaves, twigs, mulch, and woodchips. This is a single vessel system.
- Retort system – for mixed-size material and larger pieces of wood up to a few centimetres thick. This is a double vessel system.
The experiment in our on-farm workshop was to see if we could use a 44-gallon drum both as a TLUD and also as the firebox for the retort system. (Spoiler alert: yes, we could!)
This blog is very detailed and includes all the materials, steps, and photos to build both systems, so settle in for a long read.
Materials you’ll need to build a backyard biochar system
- Cordless drill and a range of drill bits
- jigsaw blade and blades for think metal
- tin snips
- small angle grinder (cutting and grinding disks)
- personal safety gear for the above
- a 44-gallon drum, the ‘open head’ type drum with removable lid and clamp to make the firebox
- a length of stovepipe/flue for the chimney
- an old beer keg (or similar) to make the internal retort chamber
1. The Top Lift Up Draft (TLUD) system
This system is ideally suited to turning very fine material into biochar—leaves, twigs, sticks, straw, etc. It’s best to use materials smaller than about 1” diameter. Coarse stuff doesn’t work because heavy burning material at the top can fall to the bottom. Because the air is coming in at the bottom, you suddenly get a bonfire in a drum.
The TLUD system uses a single vessel. In the workshop, we made it from a recycled 44-gallon drum. The drum is filled and then lit from the top. The fire moves down the material almost like a cigarette, burning consistently all the way to the bottom (at least in theory).
The TLUD works because it drags air up through holes in the base of the drum, up to where the fire is burning. The fire uses up all the oxygen so the layer of char above the fire isn’t consumed as the fire works its way down. The char just sits there as the products of combustion (with no oxygen left in the gases) flow off.
The TLUD only works if you’ve got a densely packed drum. You need layers of material that constrain the combustion to a surface that gradually works its way down.
How to make a biochar firebox (TLUD)
Use an “open head” 44-gallon drum, which is the type with a separate lid. The lid is held on by a ring of steel which is tightened either with a bolt or clamp. The bolt version is better for this purpose because the clamp can spring open when hot.
If you’re recycling 44-gallon drums, make sure they haven’t been used for flammable liquids.
Creating the air holes in the bottom of the drum
Take the lid off and invert the drum, ready to drill holes in the bottom to let the air in.
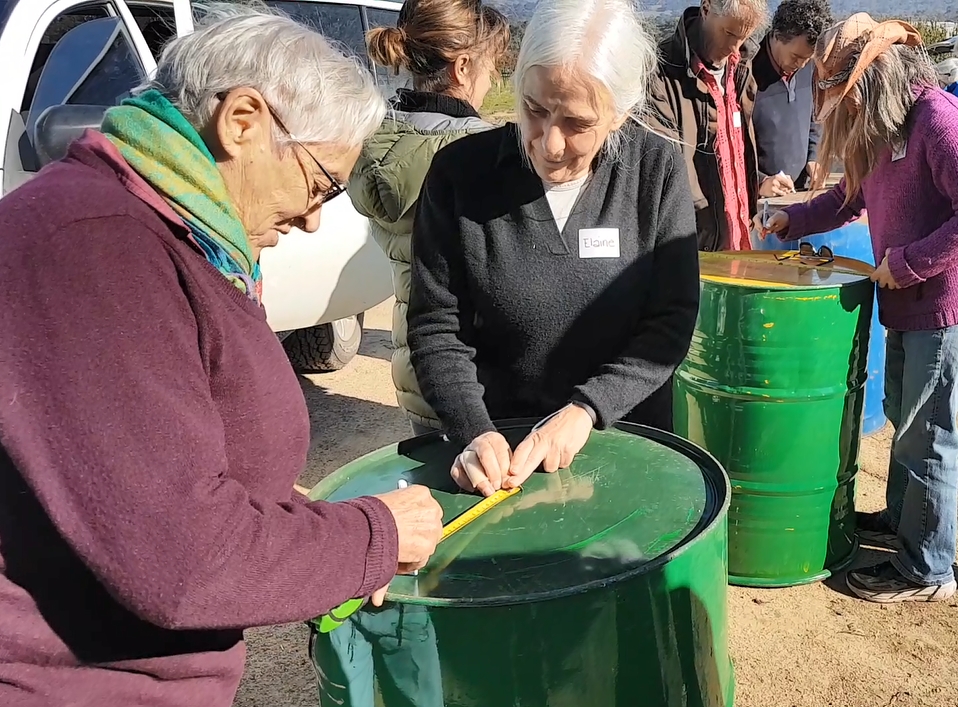
First, measure where you’ll put the holes. The number, size, and position of the holes are not critical, but they need to be evenly spread. In the workshop we drilled a central hole and four circles of holes. The magic number of holes in each circle working out from the centre is 1, 8, 12, 16, 20. (These small 20mm holes are the equivalent of one hole with 150mm diameter.)
You can use a pilot drill and then drill them out using a bigger drill bit, or just mark them with a texta first.

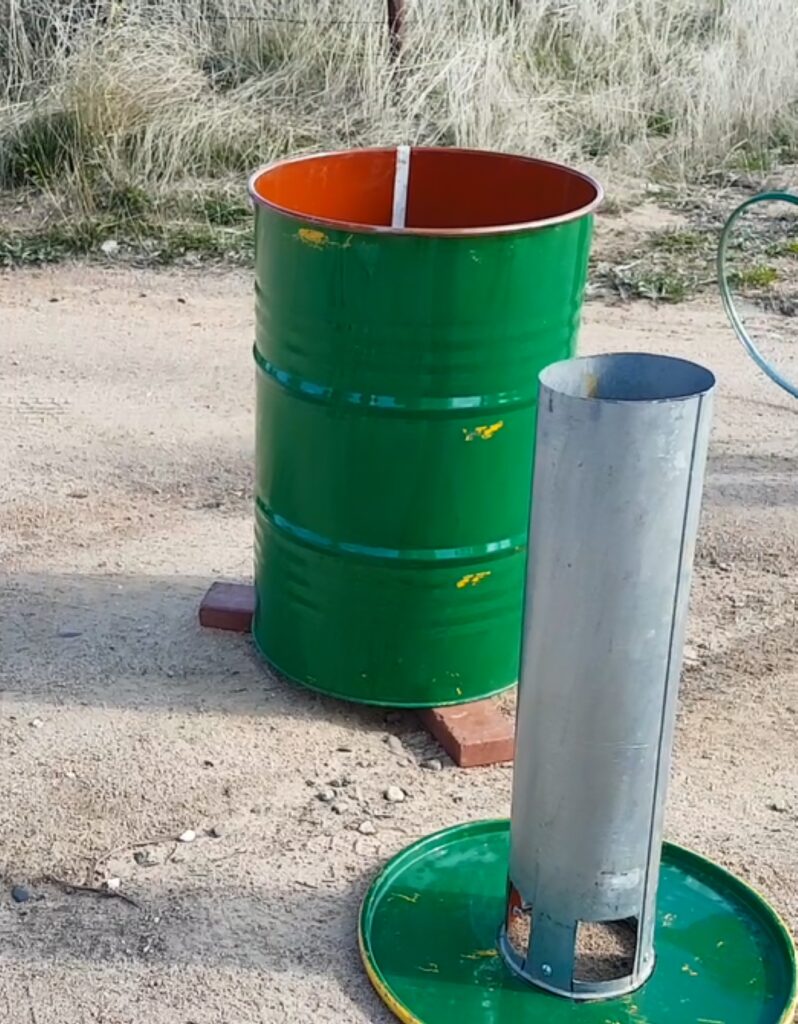
When the holes are finished the drum can be sat the right way up on some bricks to allow the air to come in from the bottom.
Install a chimney (flue) in the lid.
The taller and wider the flue is, the better (ours were about 1m tall). To install the chimney, you first need to put a hole in the lid. Draw a hole around the flue, and bisect the hole with four lines (not two as shown in the middle photo below).
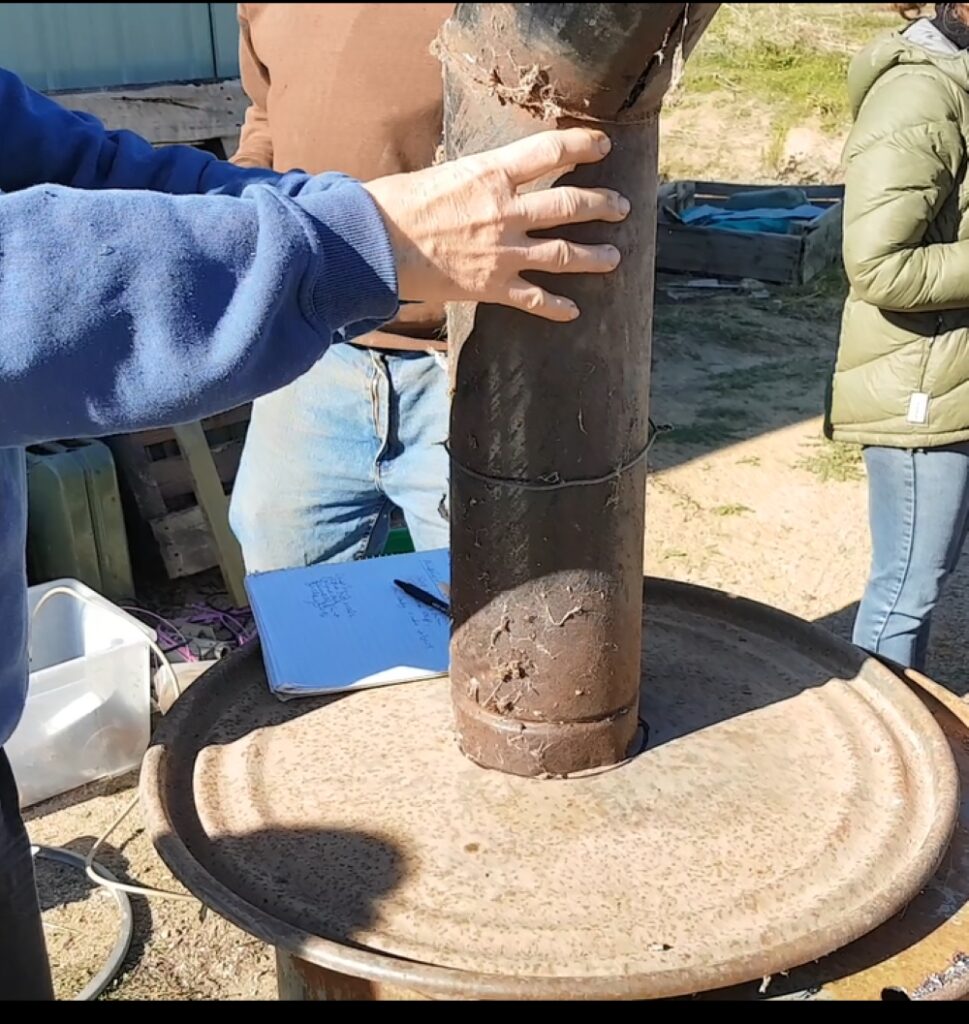
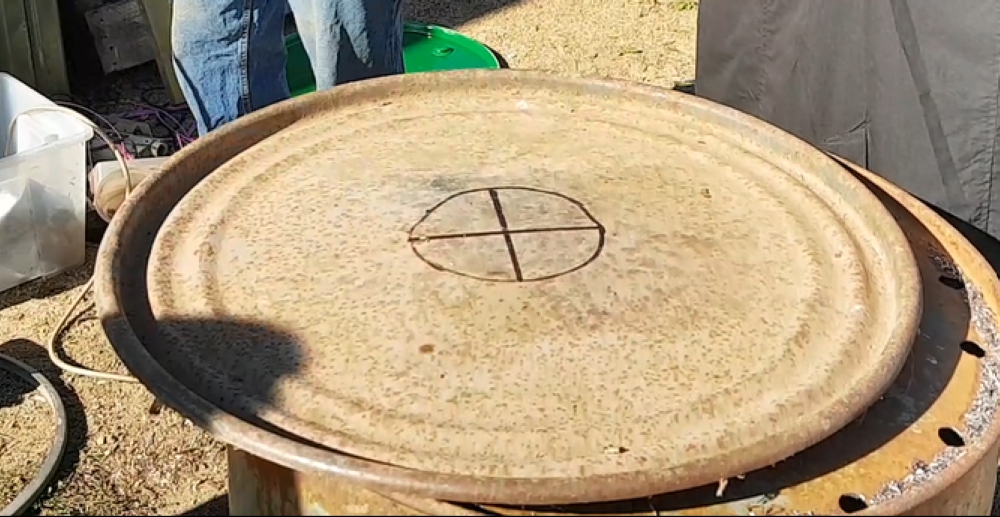
Next, use the angle grinder to cut the circle into 8 flaps. Then bend 4 flaps up and the other 4 down.
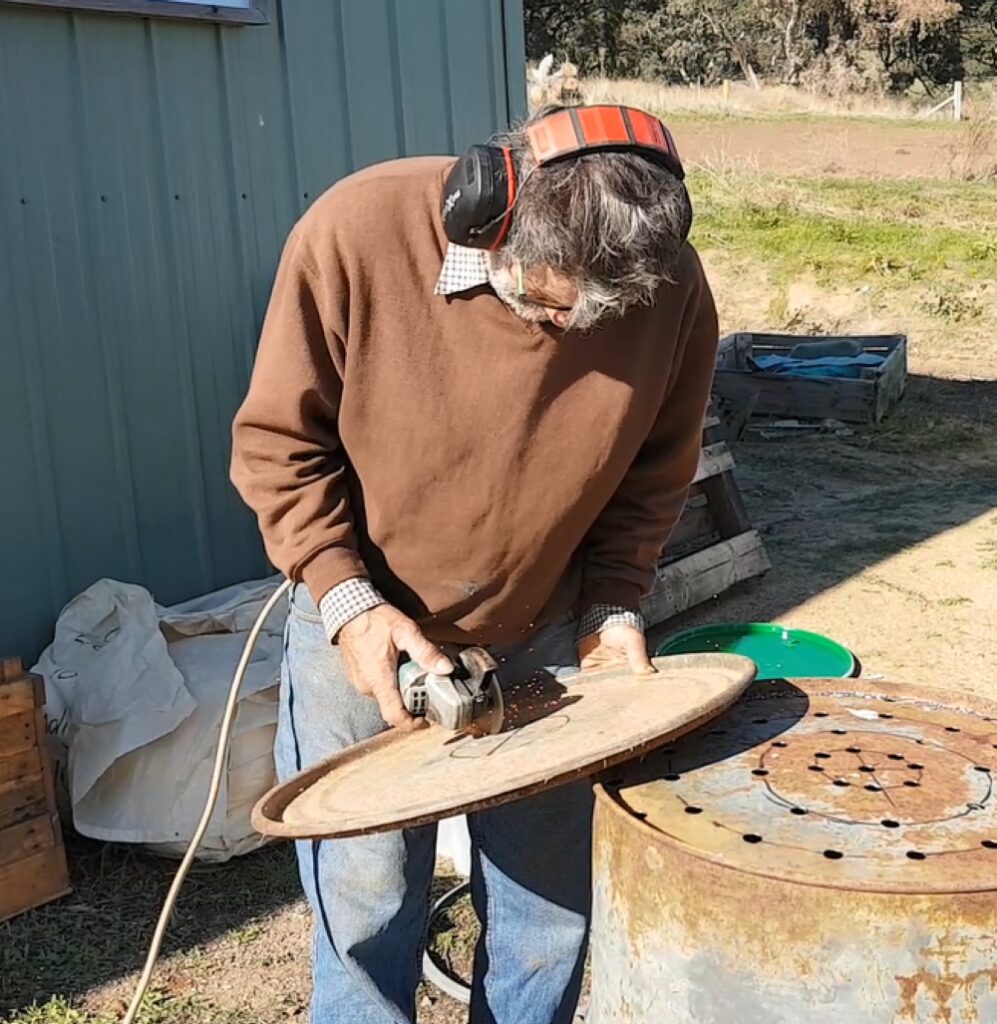
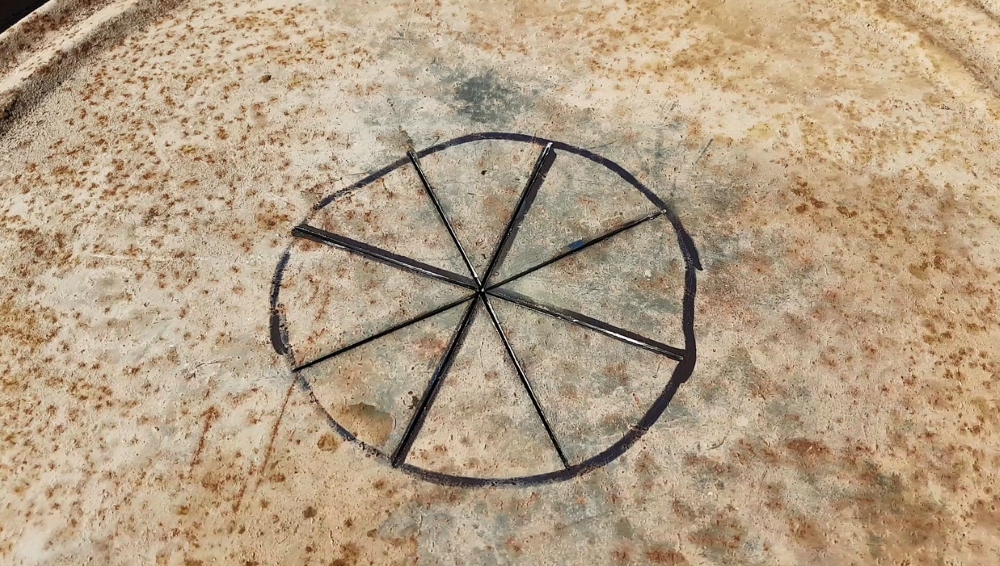
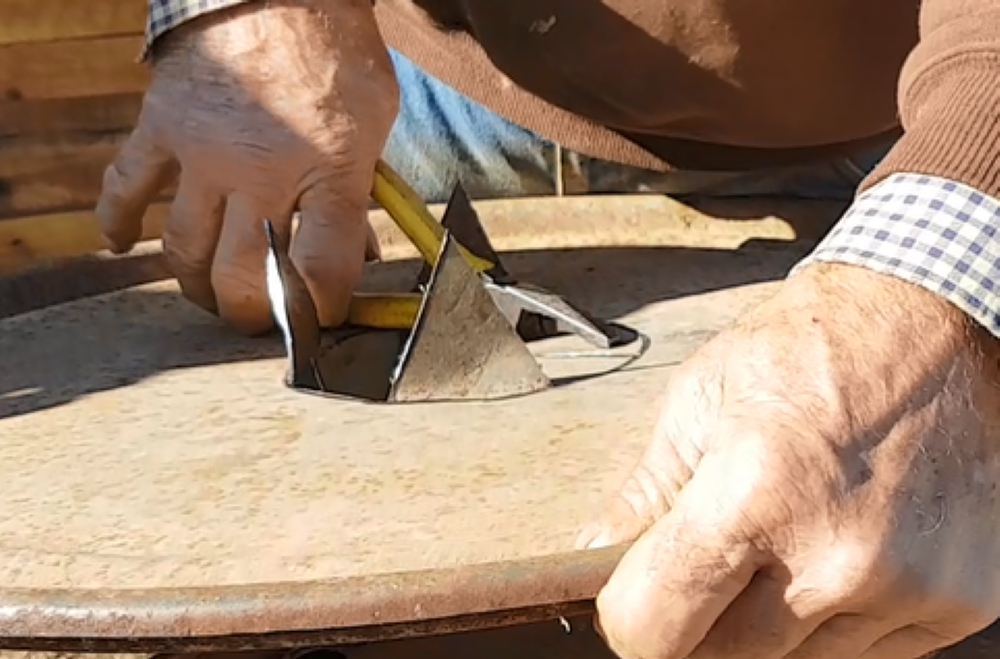
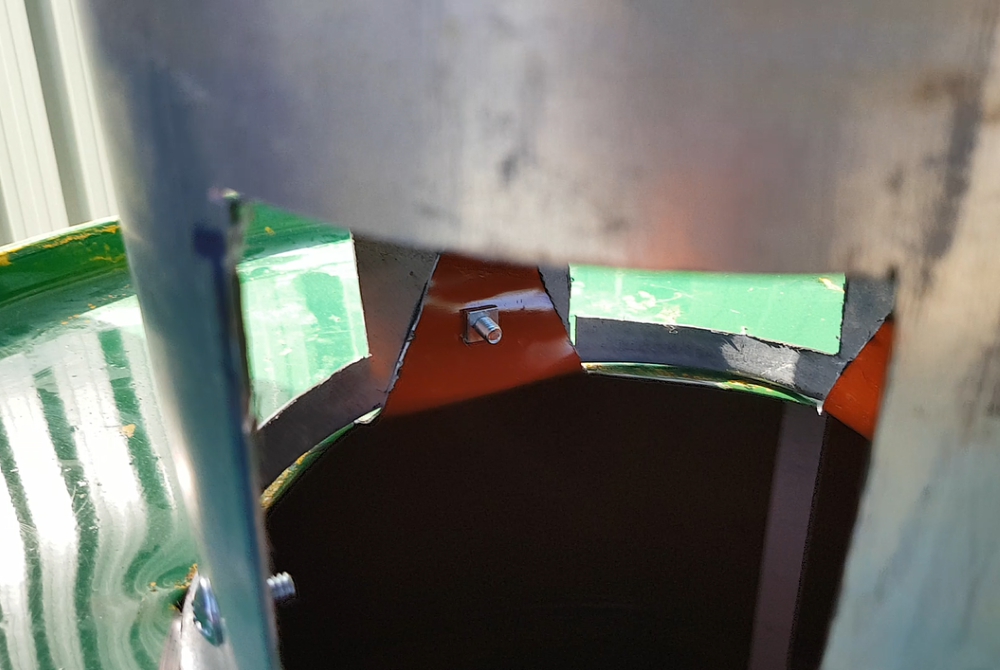
Use the 4 upward flaps to bolt the chimney on, the other 4 get hammered out of the way underneath the lid in what John calls the ‘alien egg flaps design’.

Adding air holes to the flue
Before attaching the chimney, cut four holes into the end of the chimney that will be attached to the drum to allow air entry.
The burning in the drum is going to produce a lot of smoke. How much smoke you produce is really dependent on what you burn and how wet it is. The smoke is the part of the wood you’re trying to get rid of.
It’s got to come out, but it’s best if you burn it rather than releasing it as smoke, especially if you live in an urban area. The holes let air in close to the hot top of the drum where secondary combustion is most likely.
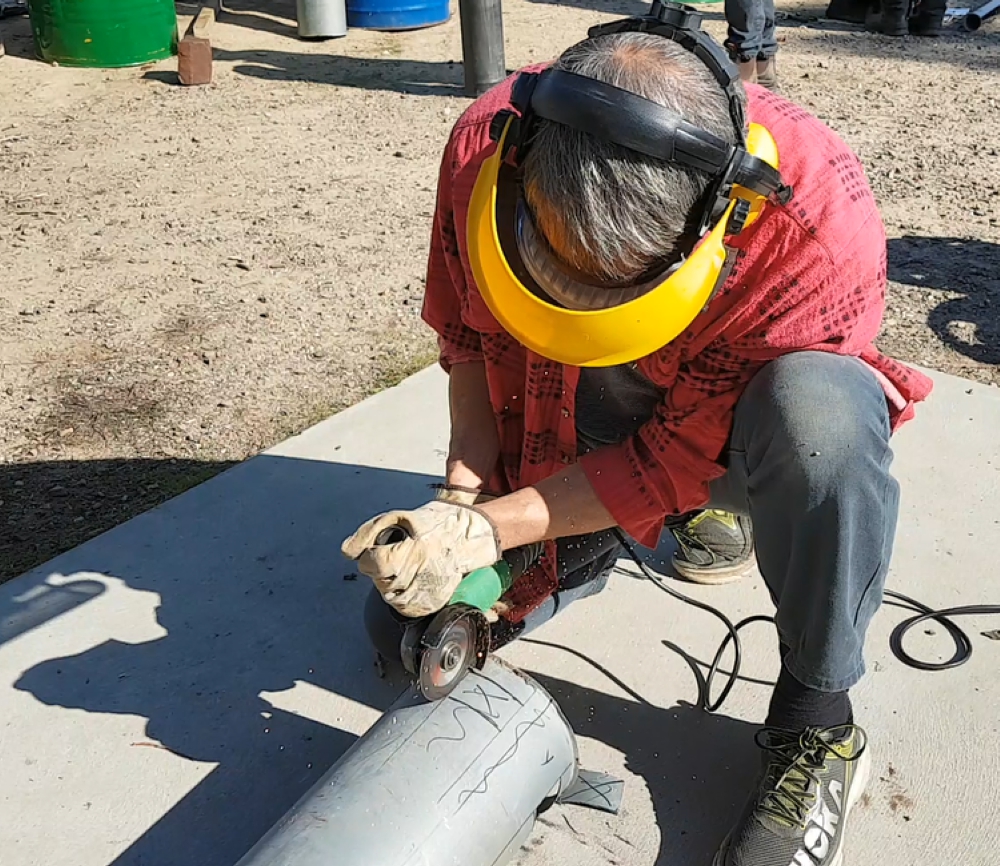
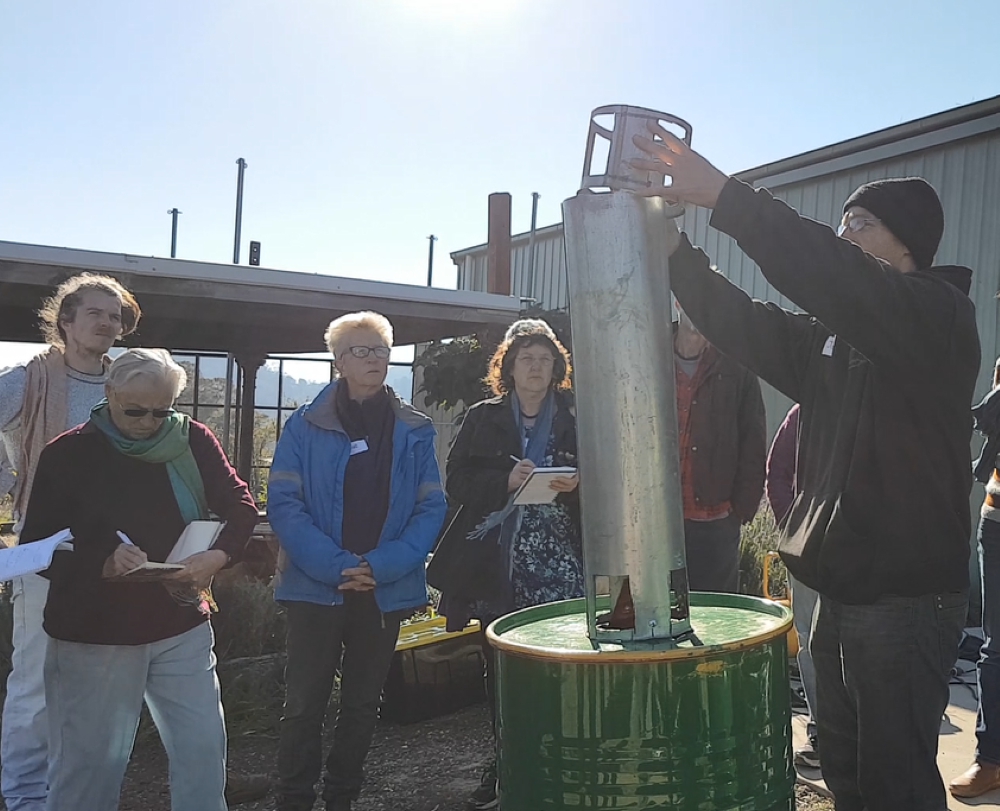
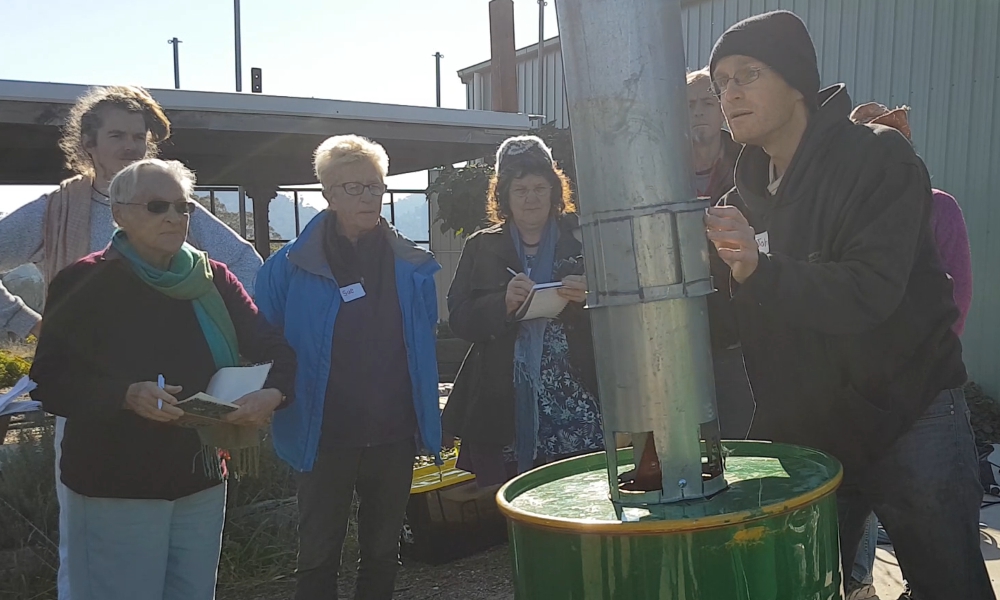
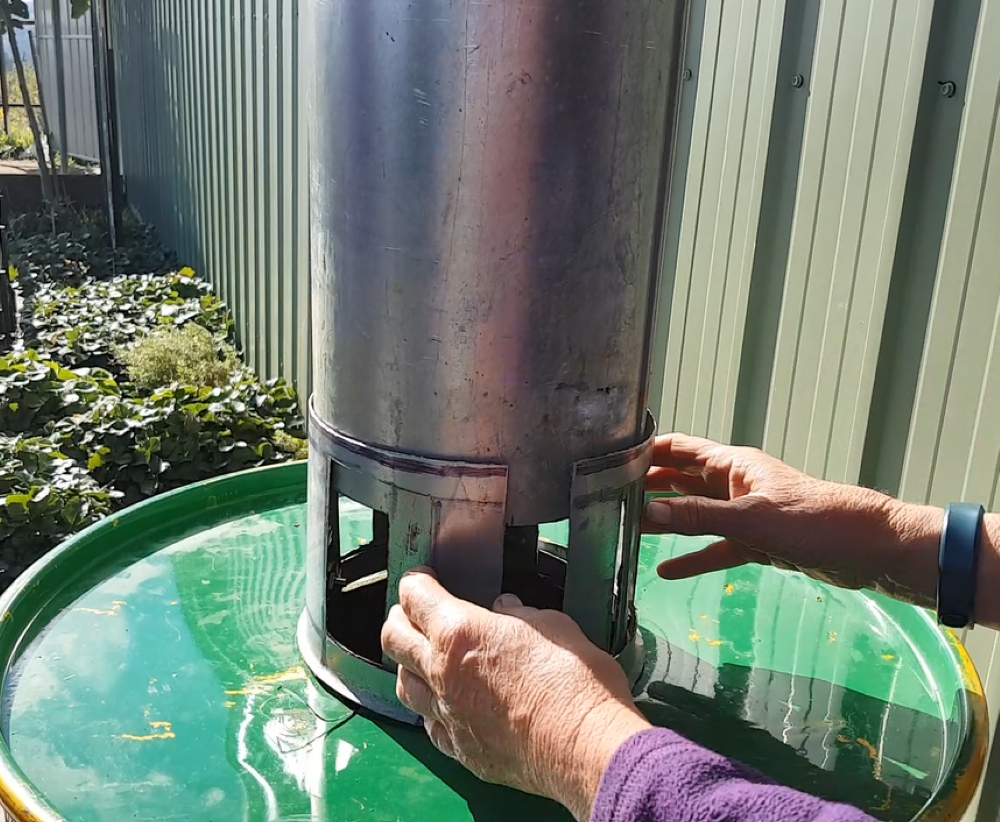
To regulate the amount of air that enters the chimney, add a sleeve with holes that match the holes in the flue. To make the sleeve, cut off the end of the flue, cut out some holes that match the holes in the flue, and cut it down the side (through one of the holes rather than through a solid piece) so it will slip over the flue.
Use welding gloves to move it – you’re looking for the sweet spot that lets in enough air to burn the smoke.
How to burn your biochar
When filling the drum it’s important to press down or stand on the material to pack it in as much as possible. Fill the drum right to the top. If the packing is uneven, the fire may be uneven which may mean there’s some unburnt material left after the burn.
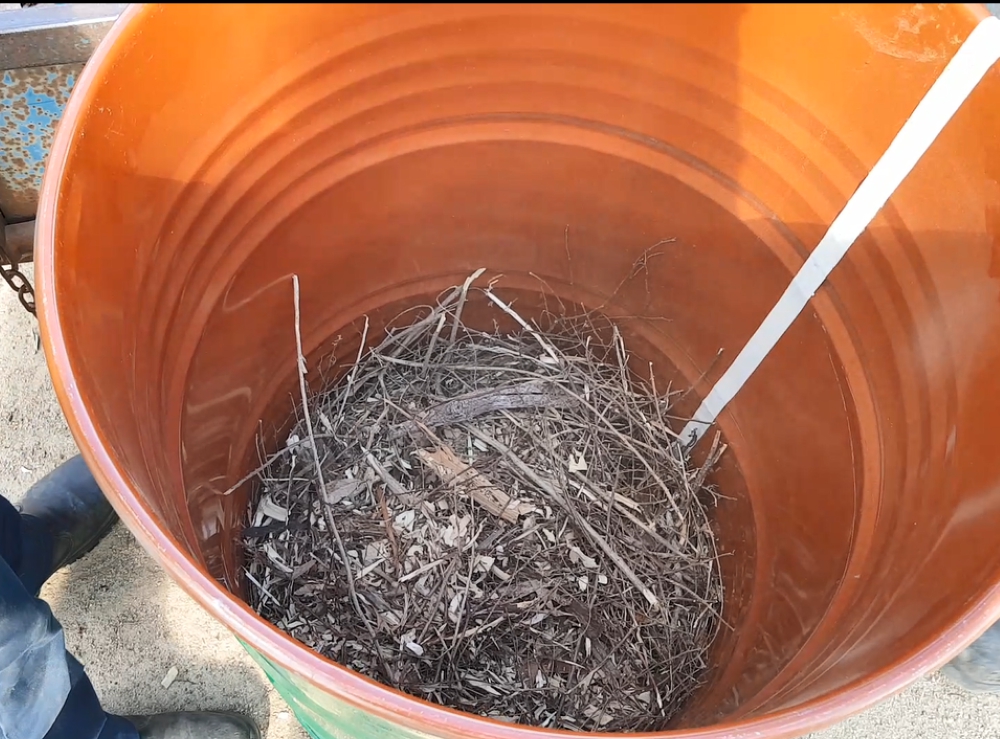
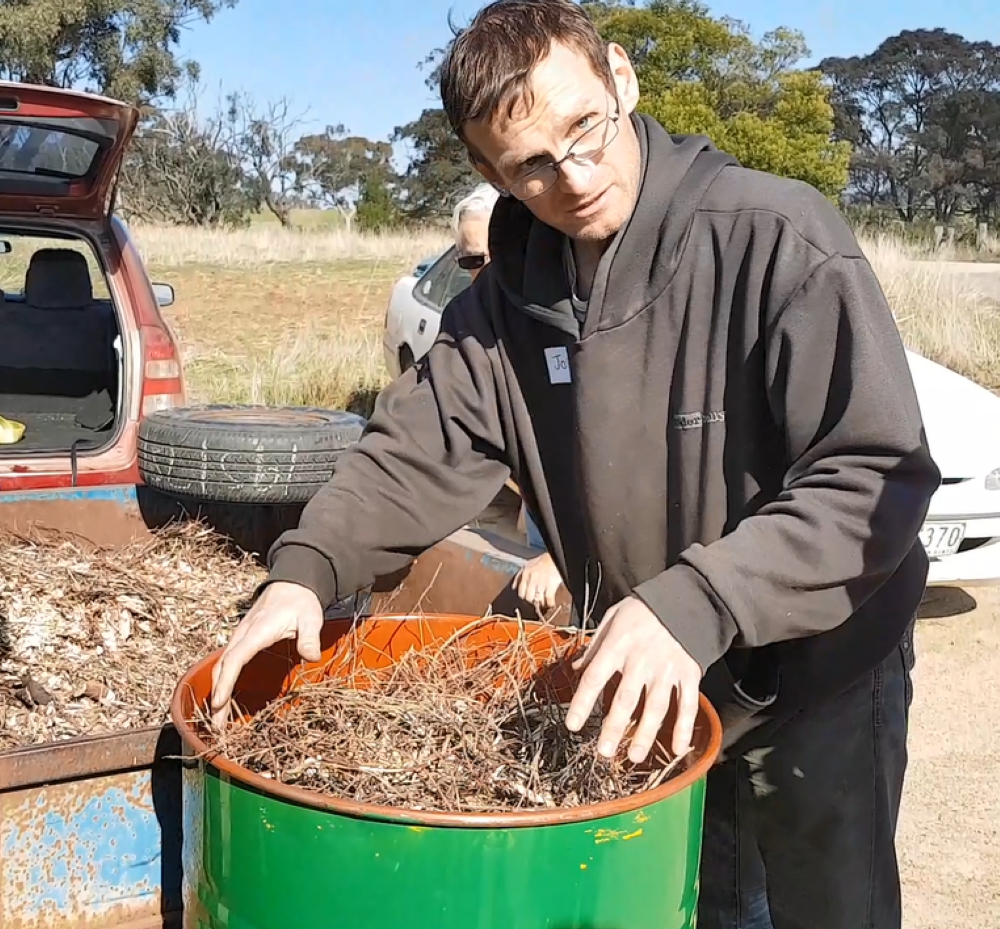
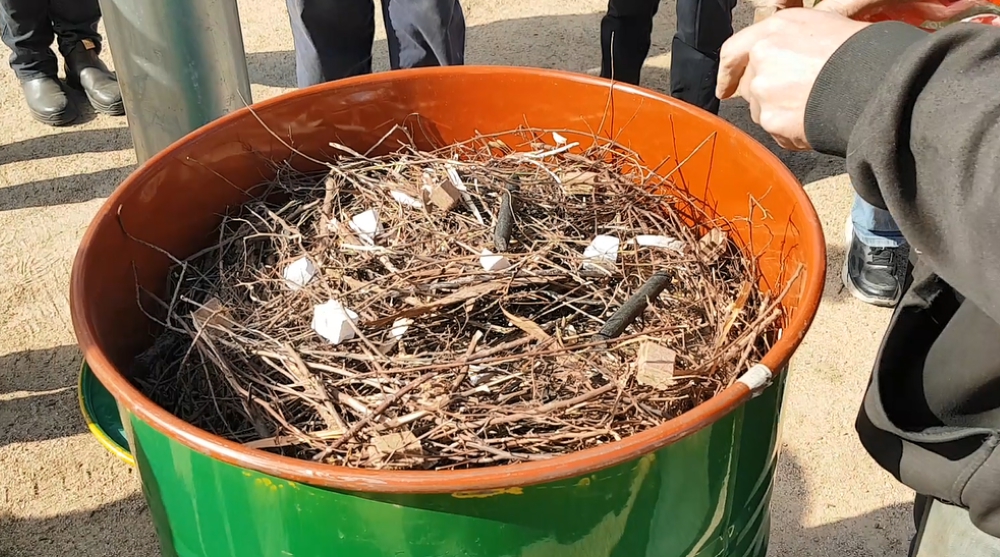
To start the fire scatter lots of firestarters on top of the material. We used three different types at the workshop. Use matches or a gas gun to start the fire, aiming for an even burn across the top of the drum.
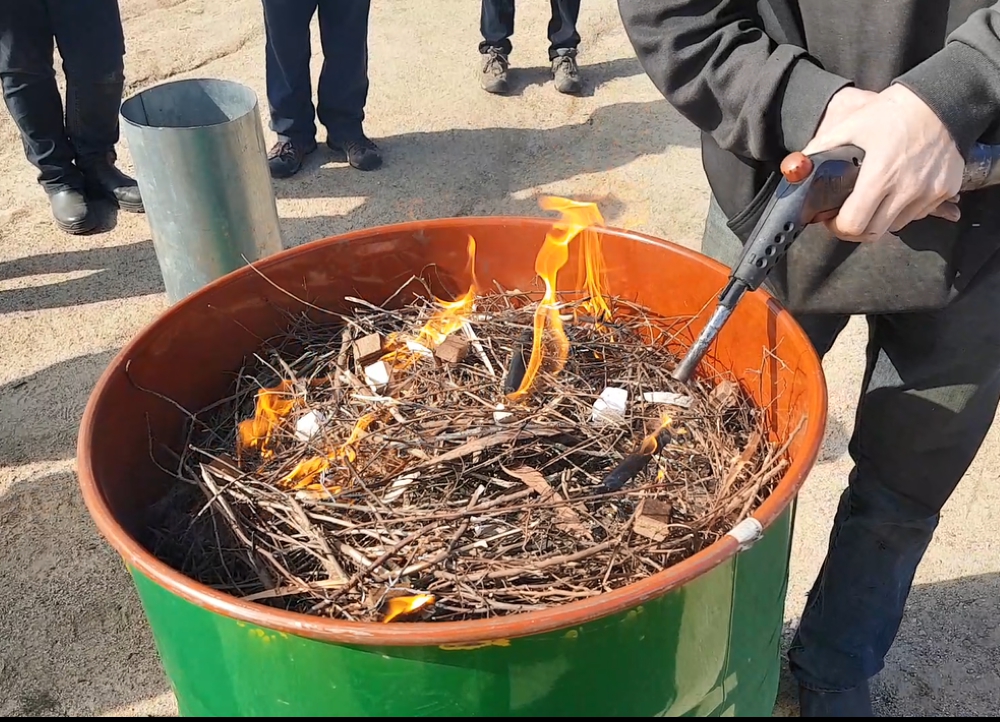
When the fire is burning solidly, put the lid and chimney on, (replacing the lid strap). Adjust the holes on the chimney to minimise the amount of smoke escaping, but don’t shut down the holes too soon or you may put the fire out.
The first burn will probably burn the paint off your drum. This will help you track how far down the fire has reached, and whether it’s burning evenly all the way around.
Keep the holes in the flue open (or even take the collar off) if the burn is very smoky. You’re aiming to ignite the smoke in the flue. It’s easy to see and hear if this has worked because the smoke will suddenly diminish and you may even see flames at the top of the flue.
If this isn’t happening on its own, try removing the collar and applying the gas burner into the holes in the flue to increase the temp and hopefully help it ignite.

Cook your lunch or heat your coffee pot on the drum while it’s firing!
How long does it take to make biochar?
The burn can take about half an hour. When finished, slosh some water on top of the drum to cool it enough to remove the lid, then slosh more water inside to put out the remaining fire.
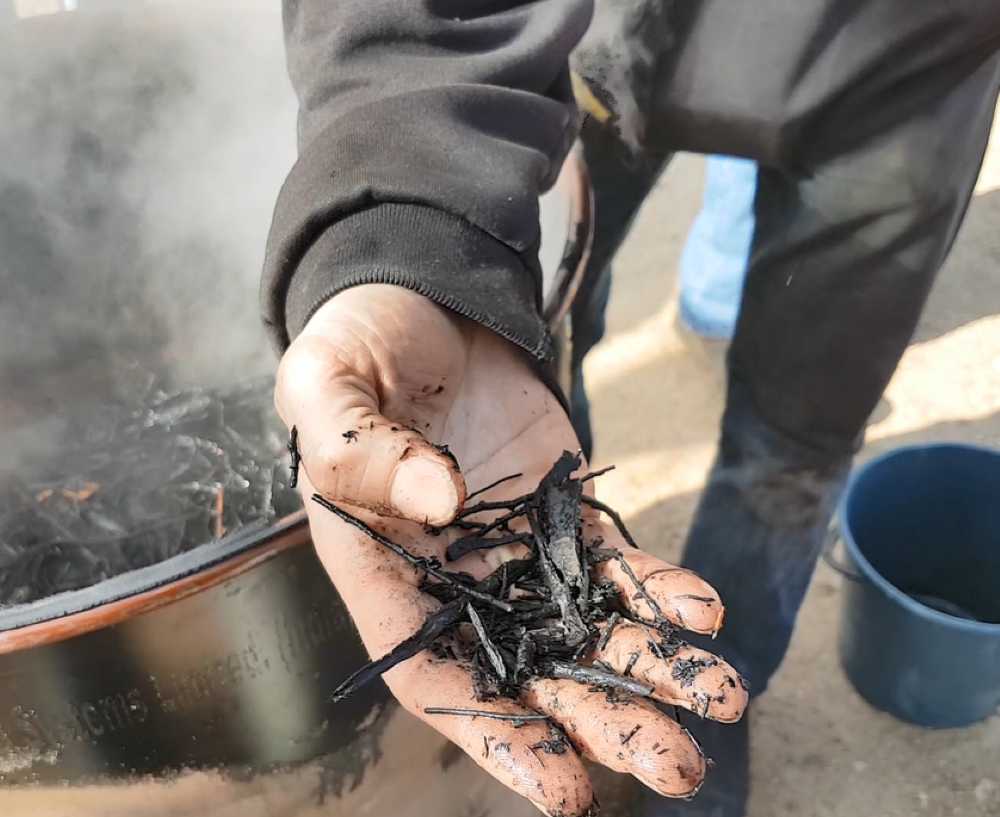
You can then get out your amazing new biochar! It should look exactly like the original plant material, but black and brittle the whole way through.
2. The retort biochar system
The retort system is a two vessel system – an inner vessel (retort) filled with the material you want to turn into biochar, and an outer vessel that contains the fire. We used recycled beer kegs to create the retort.
The main advantage of the retort system over the TLUD is that you can use larger chunks of wood, up to 1” diameter or a bit bigger.
The retort needs to have a removeable lid so you can fill the drum with wood, then roughly attach the lid back on so the wood doesn’t fall out when you tip it upside down to put it inside the external drum. A roughly fitting lid also allows the smoke to escape.
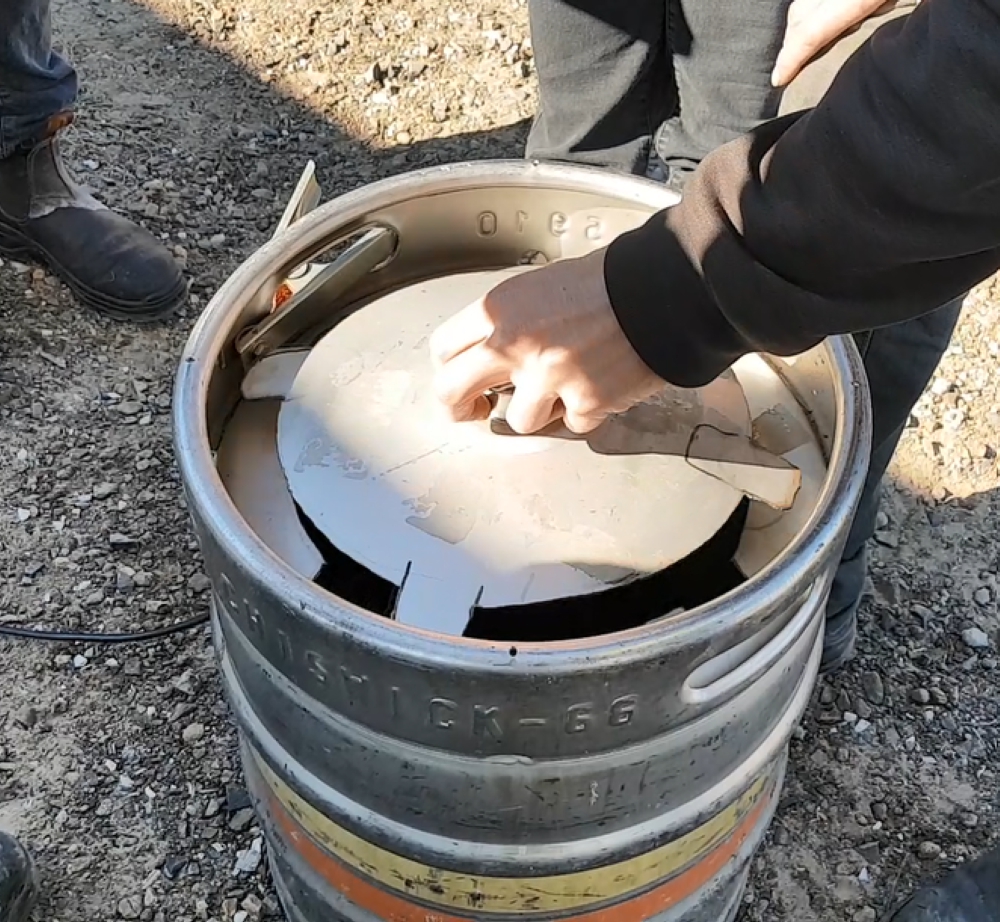
Therefore, the first step is to cut the top off. Cut the top out of the keg in the shape shown. At the workshop this was done with a MIG welder.
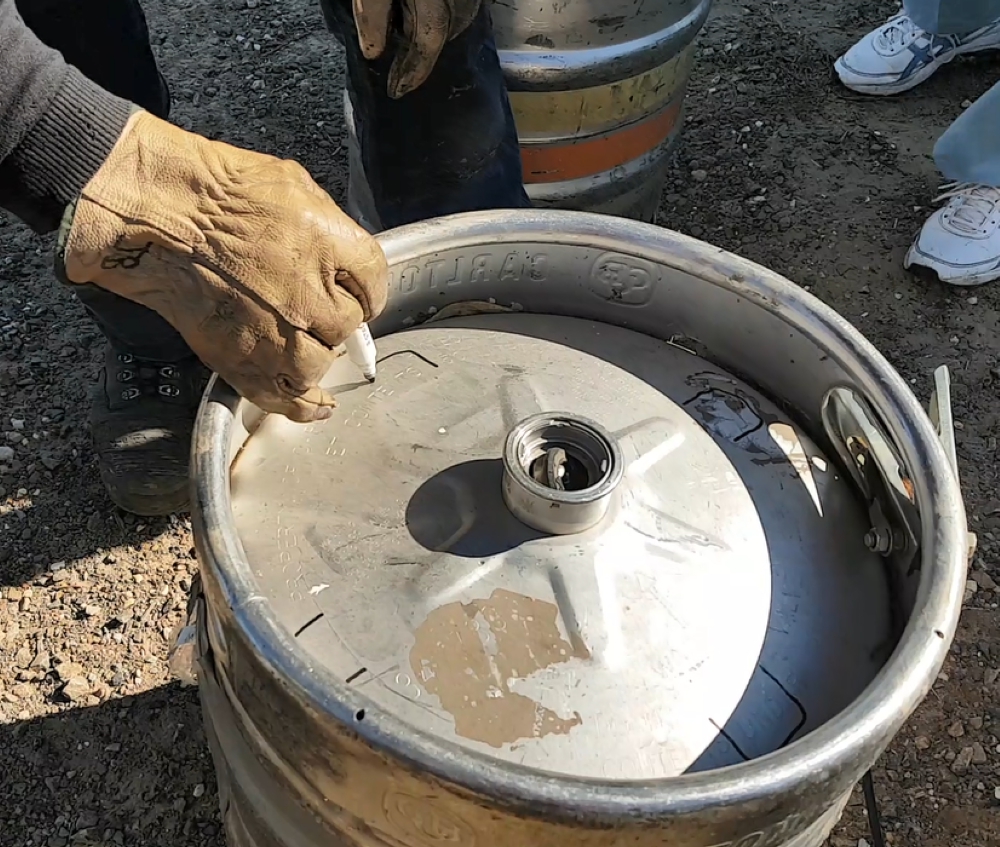
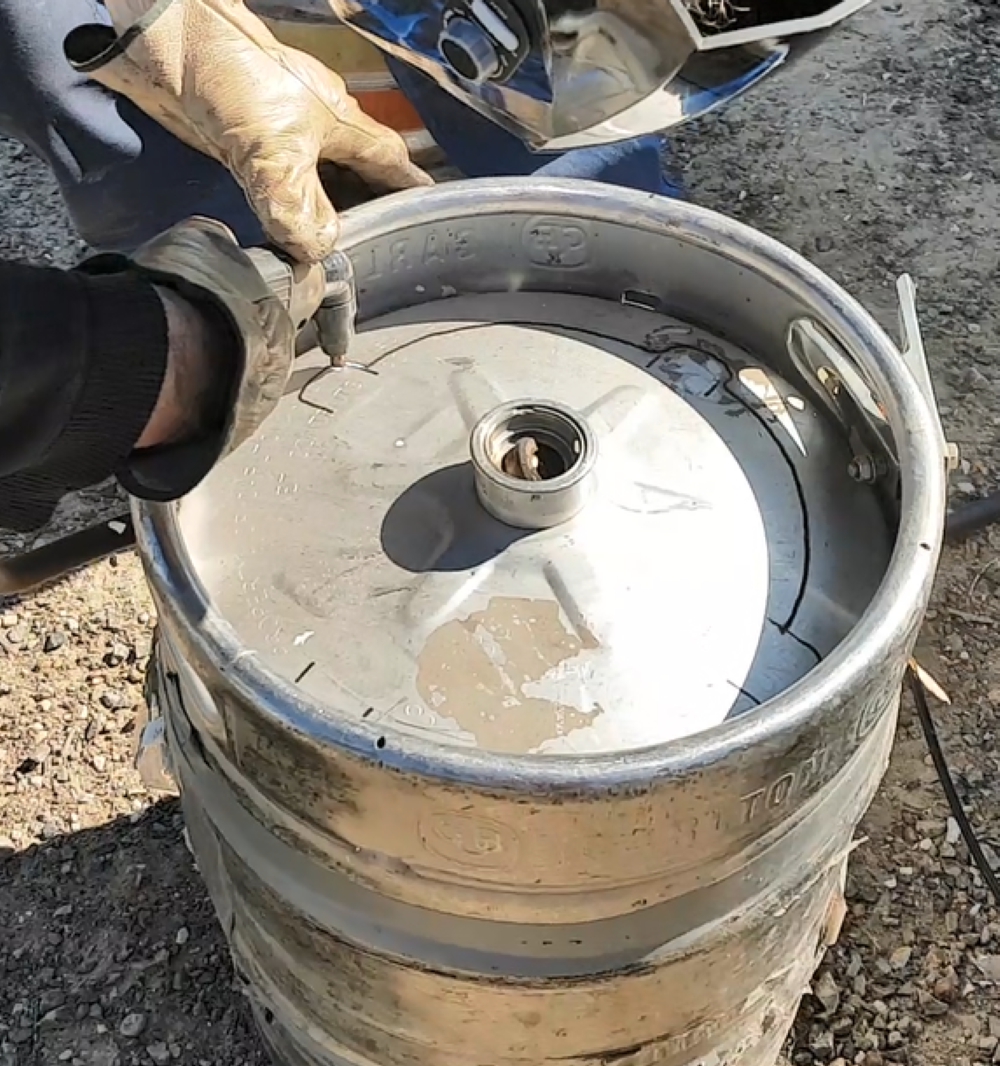
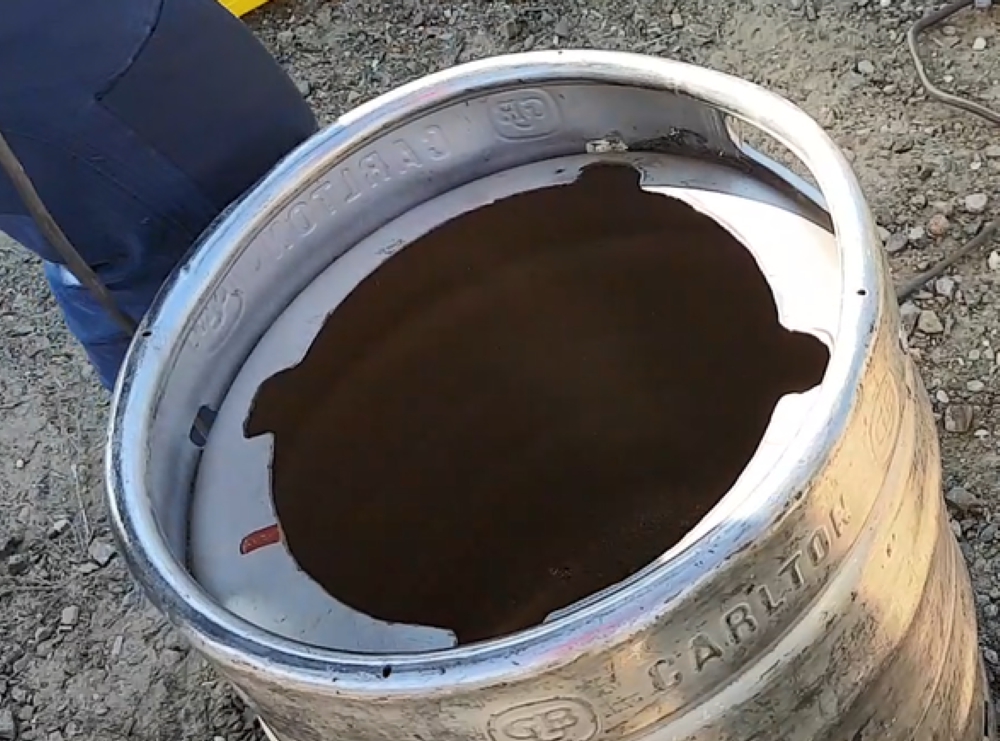
Now you have to stop the lid from falling into the retort when you put it back on as you can see on the LHS below. Bend two opposing tabs up slightly. Then the lid can be put on and turned slightly, just enough to keep it in place when the retort is turned upside down.
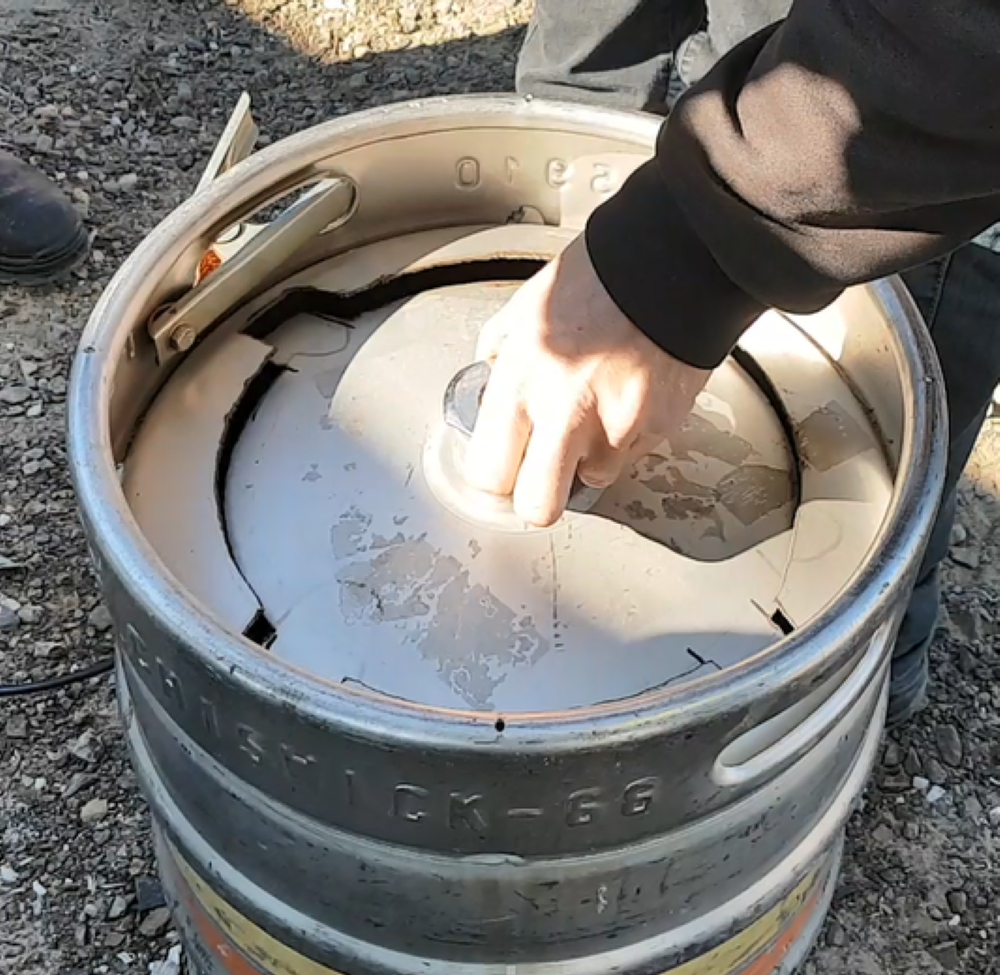
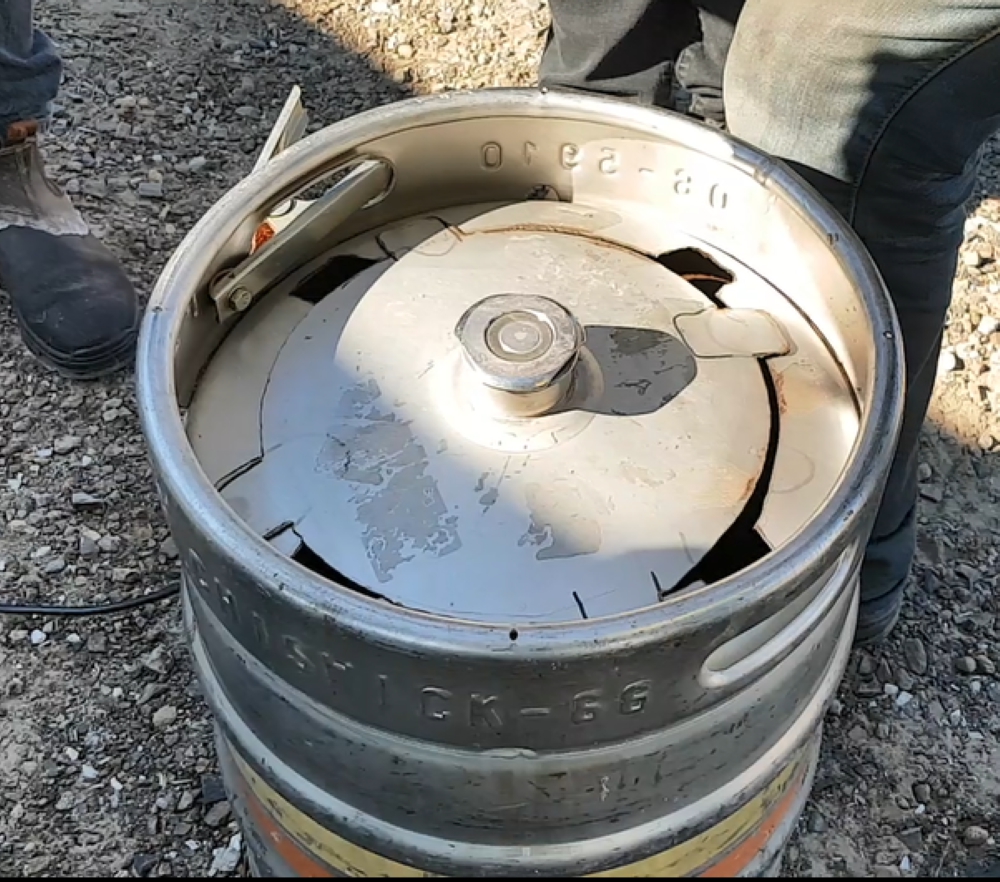
The retort doesn’t need air going through it, because it just sits inside the firebox. It’s basically a giant version of the milo tin biochar burner.
Filling the retort (inner drum)
The advantage of the retort system is being able to use bigger sticks. Fill the retort with chunky material. It’s easiest to stack the sticks in vertically, but still pack them as tightly as possible and fill as full as possible. Put the lid on.
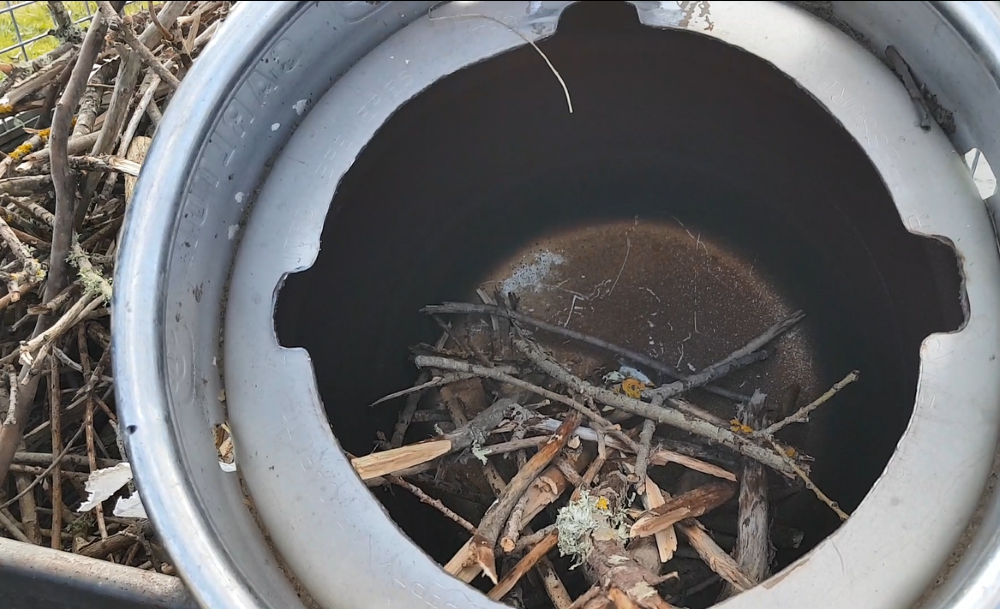

Then set a fire in the outer firedrum (44 gallon drum). This material will burn rather than turn into biochar, so use chunky material to make the fire.
Fill the drum ¼ – 1/3 full with chunky sticks. Then put the keg (retort) in on top of the sticks, upside down. Continue to fill the drum around the retort with more sticks. There’s no need to pack them tightly but get in as many as possible.
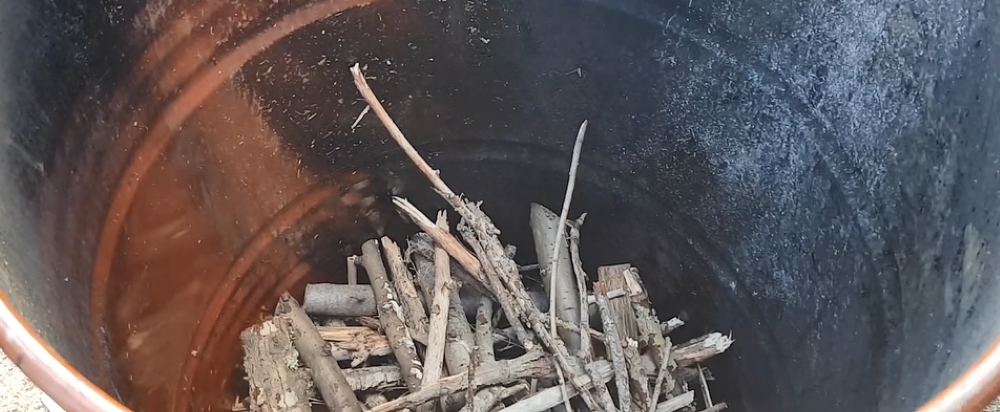

There’s always a bit of guesswork of how much of what type of material goes in the retort and in the firebox, so that by the time the stuff in the firebox has burnt out the material in the retort is completely converted into biochar.
It depends on the size of the stuff, how chunky or how small, how much moisture is in it etc.—it comes with experience. Add firelighters to get fire started, then put lid on and burn as for the TLUD.
Related Articles
The difference between green manure and understory
Green manure crops, cover crops, and understory all bring great benefits to the soil, but what’s the difference between them?
5 Steps to a Simple Worm Farm
Every household needs a worm farm, and here are 5 simple steps for setting one up with almost no cost and very little fuss.
What’s the best way to control weeds under fruit trees?
Many gardeners hate weeds under their fruit trees. Managed correctly, they can bring many benefits to your trees and soil.



I’ve been making my version of biochar by pouring water on the bonfire when it’s just coals. While not as porous as traditional biochar it still does the job and is easier to make. I then inoculate it with water, sealsol, compost, worm casting and aged chook poo.
Great technique Terry – it’s good to figure out how to do things the easy way! Thanks for sharing this.
you would simply be making charcoal though!
True Dom, but biochar is just porous charcoal actually, and still a fantastic soil additive, and a great way to get carbon into the soil. The surface area within it for population by microbes may be less, but still super useful and fast way of relatively rapid soil improvement – and the more the better!
Will this system work on mainly lawn clippings with a small amount of tree clippings
Hi Peter,
You need something with a bit more substance than lawn clippings – kindling about the diameter of your little finger is really a minimum size. You could add small amounta of lawn clippings as you go, but it does need somehting that will burn and leave coal char behind.
Yes Katie I agreed. But I would say that because the fire is so big the coals in the centre near the ground are at a low temperature and sometimes not even burnt.
While in doesn’t make biochar it’s lighter than charcoal. And you can create a lot in one go.