
Estimated reading time: 8 minutes
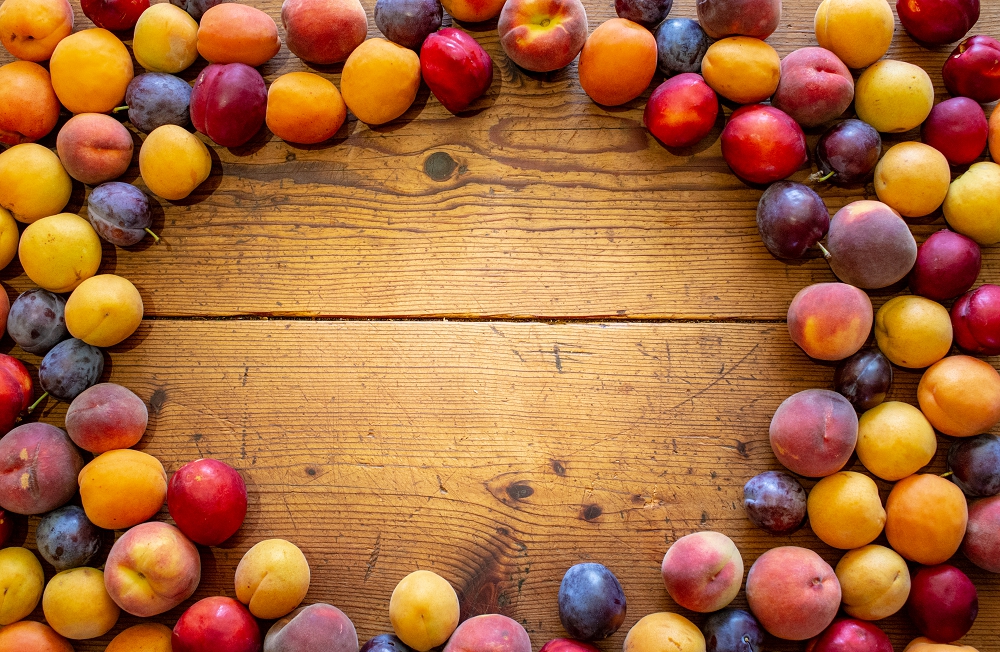
As anyone who grows their own food knows, it’s incredibly satisfying to create dishes from ingredients from your own garden.
You might also be aware that winter is officially cake season.
So this week we’re bringing those things together with two delicious and simple cake recipes using fruit you’ve grown yourself (or can easily get hold of).
Our favourite cake recipes using home grown fruit
There’s something extra special about baking with fruit you’ve picked yourself — it somehow makes the kitchen smell better, the cake taste sweeter, and the whole process feel a little more meaningful.
Even if your fruit trees are having a quiet season, winter is the perfect excuse to raid the preserves cupboard, dig out some frozen fruit, or swap with a neighbour. It’s all about making the most of what you’ve got on hand.
We bake at least one fruit-based cake a week, on average, so we have lots of go-to recipes. Today we’re sharing two of our favourites.
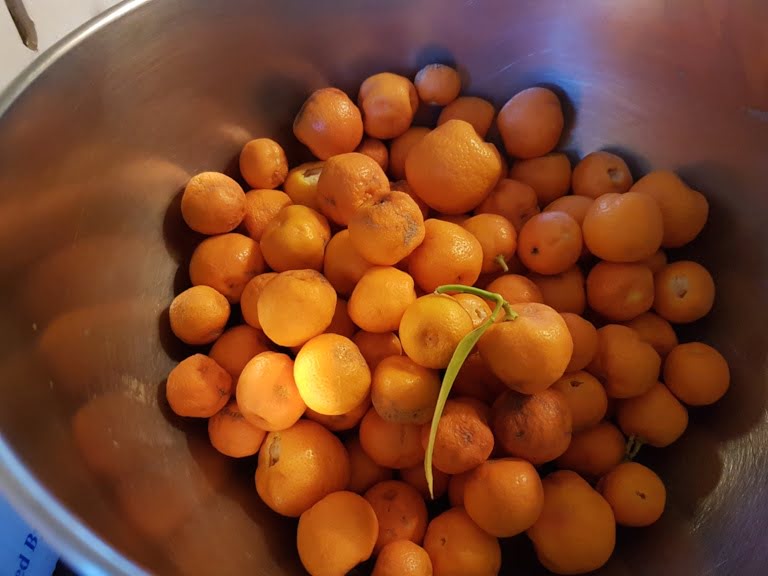
Warming cumquat and almond cake
This cake is pretty high on the satisfaction scale for us because we grow both the cumquats and the almonds. The almonds have already been harvested in late summer, so the first step is picking the cumquats.
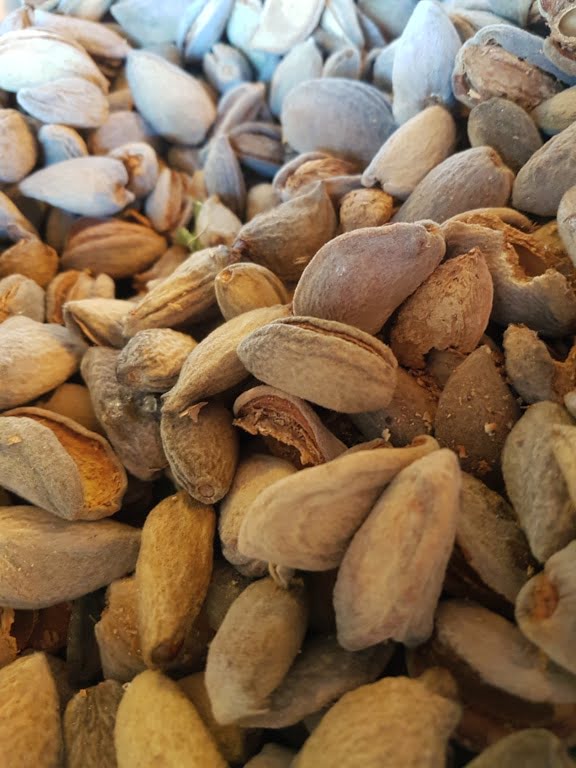
Since the almonds were picked, they’ve been sitting in their shells waiting for attention. The next job is taking off the outside husks, and then using the nutcracker to crush the shell and get the almonds out.
A quick whiz in the blender turns almonds into almond meal, and we’re ready to make the cake.
Cumquat cake recipe
This gluten-free Almond and Cumquat Cake is our adaptation of a recipe by Helen Goh that appeared in ‘The Age’.
Fruit preparation
500 g cumquats
160 g raw sugar
Ingredients
250 g cream cheese
250 g raw sugar
4 large free-range eggs
2 tsp brandy
140 g almond meal
120 g rice flour
1 tspn baking powder
Method
- Slice and de-seed the cumquats (roughly into quarters if they’re small, eighths if the fruit is larger). Toss in a bowl with the sugar and let sit.
- Cream the cream cheese and sugar together in the blender, then add the eggs and brandy.
- Mix the almond meal, flour, and baking powder, and add the dry mixture to the egg mixture.
- Pour the mixture into a 23 cm round cake tin. Be warned, the cumquat mixture is syrupy so if you’re using a split-rim two-piece cake tin, definitely line it with baking paper or foil.
- Spread the cumquat and sugar mixture in the base of the tin, then cover gently with the cake batter.
- Bake at 180C for 45 minutes or until a skewer comes out clean. Cool for 15 minutes and then invert the cake onto a plate.
As always, serve with lashings of excellent cream, and preferably eat next to a roaring open fire.
Moist pear and walnut cake (also gluten-free)
This next cake is one of our own inventions. It was created at a moment when we had lots of pears and needed a cake for a special occasion.
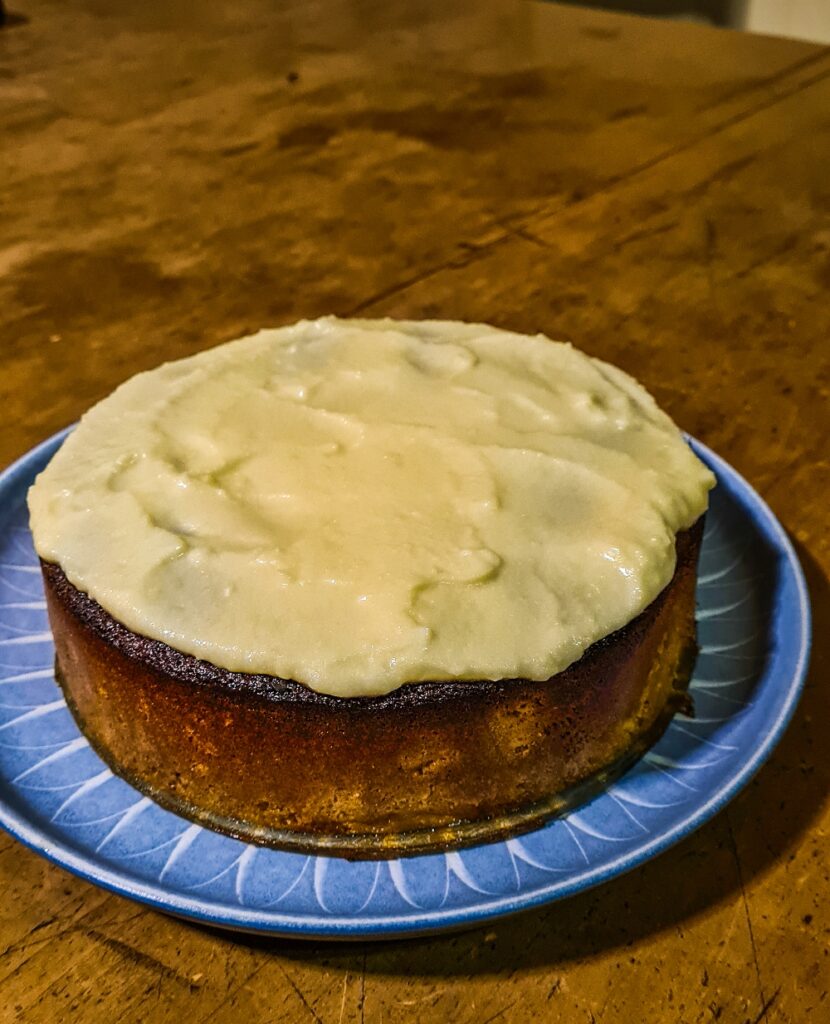
This is a great cake because it works just as well with very ripe fresh pears or bottled pears. The bottled pear version lends itself more to the variation where the pears stay hidden at the bottom of the cake, and the top is iced (see below).
You can be flexible with the flours and use anything you have, but this blend makes a beautifully moist cake. Use a springform cake tin.
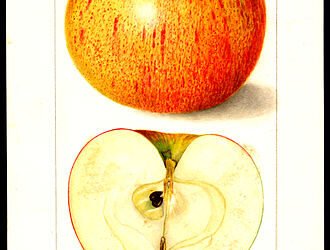
Which type of pear is best?
We used Packham pears in this photo. If you’re not familiar with them, they tend to be quite large pears and start off a greenish colour. As they ripen, they turn buttery yellow and become very soft, sweet, and juicy.
Packhams are a great pear to grow in the backyard because they keep for ages and are very versatile. Their full name is “Packham’s Triumph” because they were considered to be a triumphant breeding experiment by crossing the Williams pear with the Uvedale St Germain, but that’s another story!
If you don’t grow (or can’t get) this variety, any pear will do. If it’s not ripe and juicy you may need to slightly increase the amount of liquid in the recipe, because a lot of the moistness comes from the pears themselves.
This is one of the reasons that substituting bottled pears works well because they are pre-cooked, which means they’re soft and juicy.
We’ve also made a version of this cake using apples, which worked perfectly well (though wasn’t quite as moist). We point this out because gardens are more likely to have an apple tree than a pear tree, probably because apples are one of the best backyard fruit trees.

Ingredients
- 2 large very ripe Packham pears (or any variety you can get), or use bottled pears
- 2/3 cup almond meal
- 1/3 cup rice flour
- 1/3 cup millet flour
- 3 tsp baking powder
- 1/2 tspn cinnamon
- pinch salt
- 1/2 cup chopped walnuts
- 1/2 cup butter
- 2/3 cup raw sugar
- 2 large eggs
- 1/2 cup milk
Buttercream icing (for version two)
- 1/2 cup butter, softened
- icing sugar
- Approximately 1/3 cup quark (You can substitute with yoghurt, creme fraiche, cream cheese, or similar. They’ll all give a slightly different texture and finish, but are variations on a theme.)
Soften the butter, and mix in enough sifted icing sugar to make a very firm mixture. Add some quark to reach a good spreading consistency. If it goes a bit too loose, put it in the fridge to firm up before spreading, or add more icing sugar.
Method
Slice the pears into thick slices and line the bottom of your cake tin with them. Reserve half of one of the pears and chop into 2 cm cubes.
Sift flours, cinnamon, salt, and baking powder. Cream butter and sugar, add eggs, and beat. Add wet mixture to dry mixture. Add enough milk to achieve a firm batter consistency, not too runny. Carefully fold in the walnuts and chopped pear pieces. Pour into the cake tin on top of pear slices.
Bake for 40 minutes in a moderate oven or until a skewer comes out clean. Be aware that the skewer may come out looking wet if it hits a piece of pear, so don’t overcook the cake. On the other hand, it’s a very moist cake, and will probably need the full baking time.
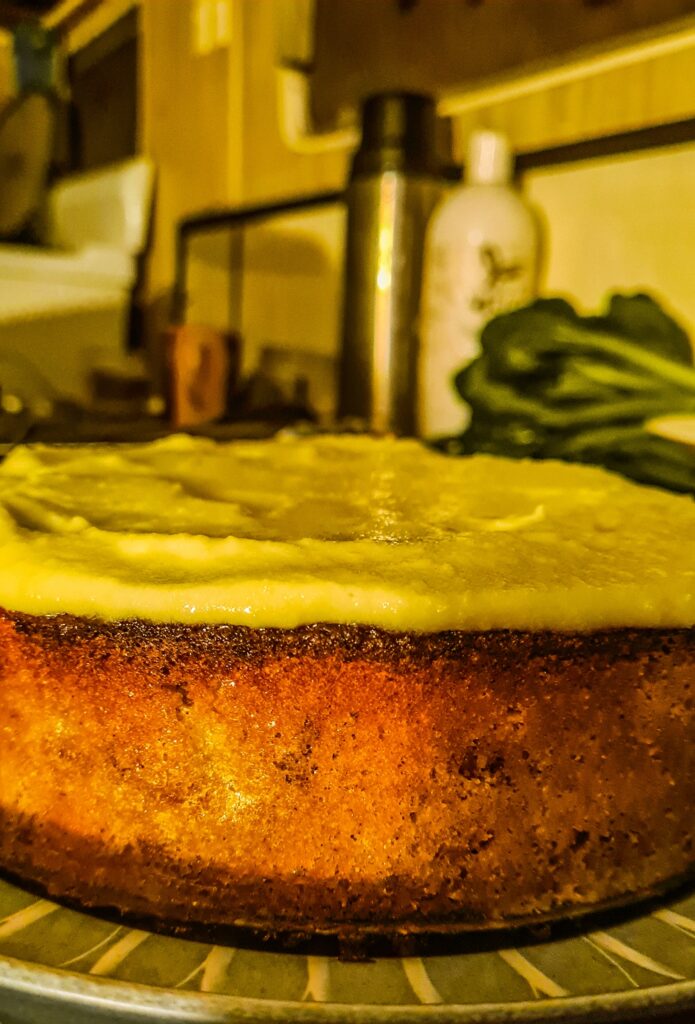
Presentation
Once baked there are two options for how you present the cake. The first is to invert it so the pear slices are on top and serve as is with cream.
The second is to leave the cake the way it was cooked. Just remove the outer part of the springform pan and leave the cake on the base to serve. Ice liberally with buttercream icing.
Either way, this is a very more-ish cake that will impress anyone you share it with, if you can resist eating it all yourself!
Related Articles

Animals, fruit trees, and electric fences
Animals and fruit trees go well together if you can figure out how to enjoy the benefits without the animals doing too much damage.
Saving heritage fruit trees by planting them
Many heritage fruit tree varieties are in danger of going extinct. The best way to save them is by planting them in your backyard.
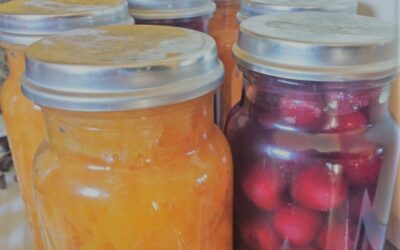
9-step process for preserving fruit
Learning to preserve your own fruit is a great way to use up gluts and give you a steady fruit supply throughout the year.

yuuum. Can’t wait till the cumquats fruit to try this recipe.
Thanks Maureen, hope it works out well and is delicious as ours was – this recipe is a winner!
Hello
I have plenty of oranges ( not quite sweet enough yet)
Can I substitute oranges for cumquats in the cake/
Thanks
Liz
Hi Liz, yes absolutely you can, but if you’re leaving the skin on the oranges (which will give it a lovely slightly bitter flavour) I’d recommend cooking them with the sugar for a while rather than just leaving them sit with the sugar, as the peel is much thicker on an orange than a cumquat, and you don’t want large bitter pieces of peel on top of your cake.
This article is very useful and very helpful
Glad you think so, thanks for the feedback. Cake can be a really easy, shareable way to use up fruit! Meg, Grow Great Fruit team.