Estimated reading time: 5 minutes
Have you done any apricot bottling lately? (FYI for our northern hemisphere friends, “bottling” is what you call “canning”). If you’ve never tried it before, we highly recommend it.
Bottling is easy, and a great way to preserve the summer bounty of fruit to enjoy through the rest of the year. It’s like capturing a little bit of sunshine in a bottle to warm the cold, dark days of winter.
Related Articles

Will subtropical fruit trees work in your garden?
A lot of subtropical fruit comes from indigenous forest cultures, but that doesn’t mean you can’t grow it in your backyard.

Animals, fruit trees, and electric fences
Animals and fruit trees go well together if you can figure out how to enjoy the benefits without the animals doing too much damage.

Warming winter cakes with home-grown fruit
Bake delicious warming winter cakes from the fruit you’ve grown on the fruit trees in your own garden for extra satisfaction.
Preserving the apricot harvest
At our place, we demonstrate how you can grow and preserve an entire year’s supply of fruit for your family.
We practise what we preach each year and bottle a heap of fruit to see us through winter. We aim to preserve enough so we don’t need to buy fruit at all, except for things we can’t grow ourselves.
That means that throughout summer and autumn, we’re steadily filling the pantry whenever we have a minute to put a few bottles through the processor.
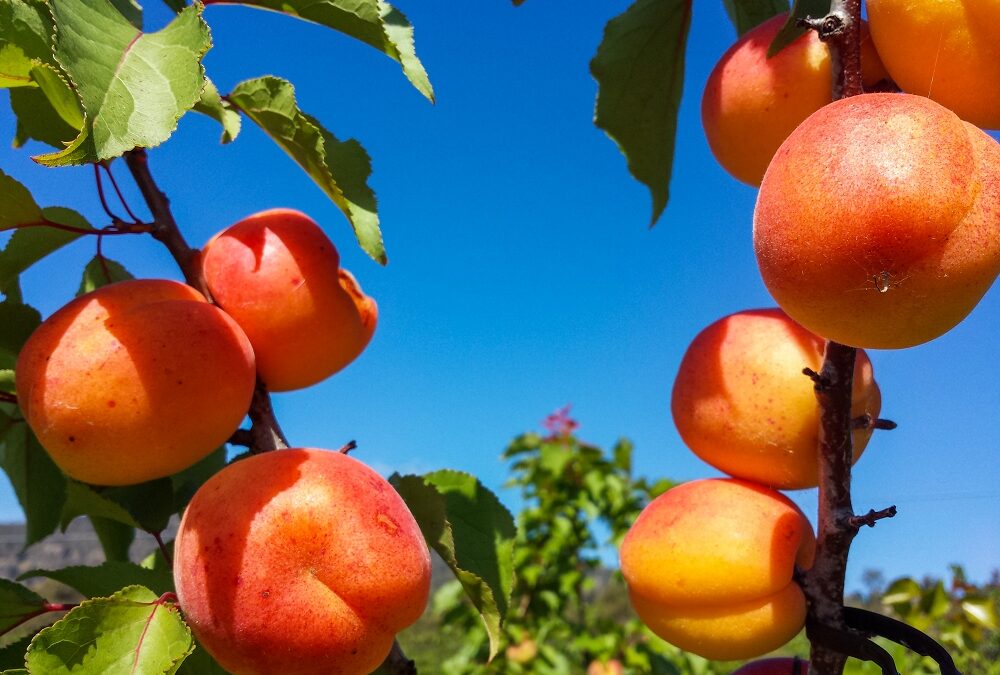
We usually start the preserving season with apricots and cherries.
Apricots are some of our favourites, so we aim to fill lots of jars with them. Bottled cherries are a great treat to make into a special dessert when we have guests.
It goes without saying that we also eat as many as we can while they’re fresh and in season, as well as cooking with them.
Plus, we share a lot around with family and friends when we have a surplus.
(Photo: Biomi)
What equipment will you need?
In Australia, most people use the Fowlers system. New kits, jars, clips, rings, lids, and books are easy to come by. Good quality second-hand equipment often turns up in op shops or garage sales—just make sure the kit hasn’t rusted out.
There are also other kits available, such as the popular Ball Mason system. It doesn’t matter which system you use, and in fact, you don’t need a ‘system’ at all.
Bottling can safely be done in recycled glass jars, as long as they’re the type with inbuilt rubber rings and are clean and free of chips.
You can use any large saucepan with a solid bottom, as long as you can put the lid on when the jars are in place. If using a saucepan you’ll also need some way of keeping the jars off the bottom of the pan, such as a trivet.
Step-by-step apricot bottling (canning) method
You can use this method for all fruits. If bottling tomatoes, other vegetables, meat, or fish, do extra research first to be sure you’re not going to poison your family with botulism!
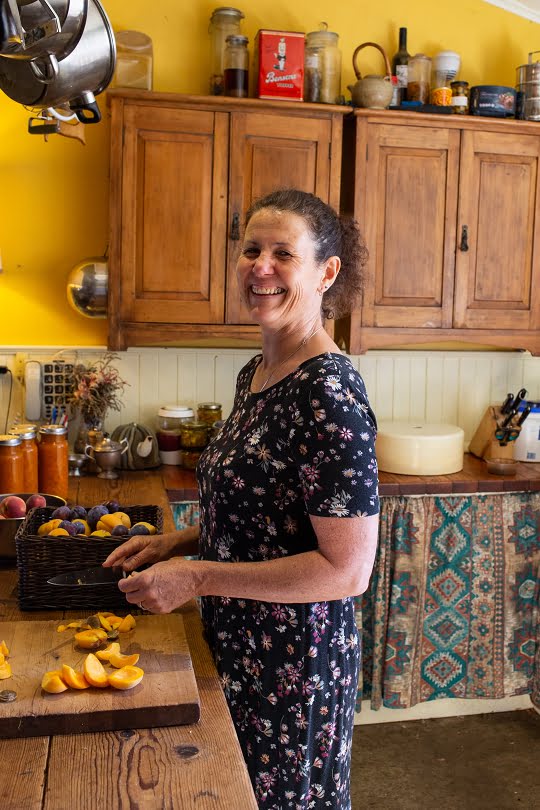
Step 1
Prepare the fruit by washing, removing any damaged parts, and chopping into the right sized pieces for your family.
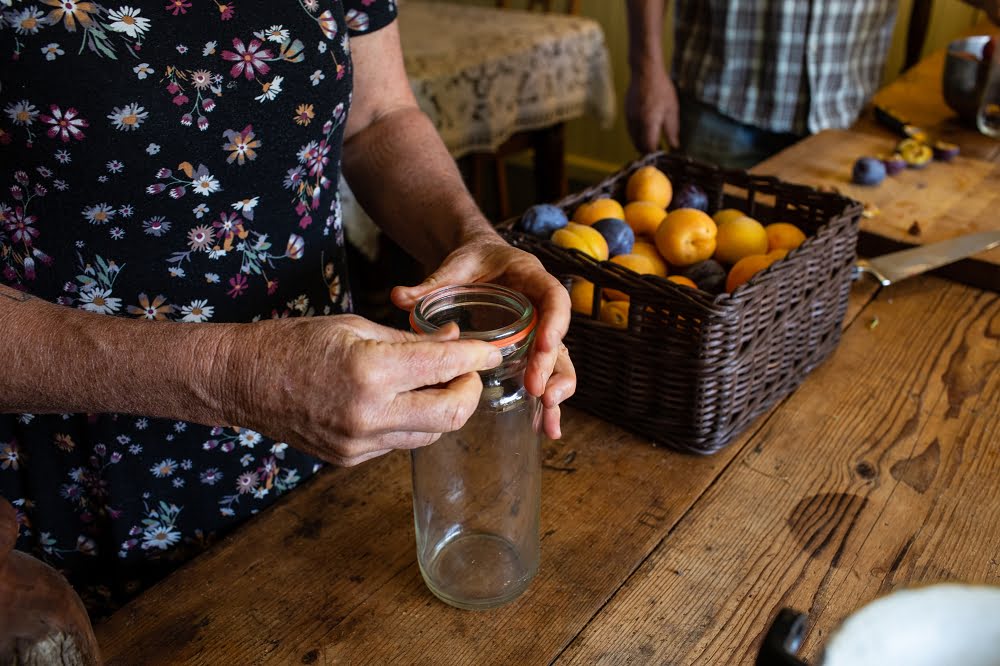
Step 2
Wash jars, lids, and rings (if using them) in hot soapy water, then rinse in hot water. There’s no need to sterilise or dry any of the equipment, it will be sterilised during the process. Put the rubber ring around the neck of the jar and make sure it’s not twisted.
Step 3
Pack fruit firmly in jars, filling with liquid (water, or syrup depending on your preference) as you’re filing the jar. Try to dislodge all the air bubbles! Fill to within 12mm of the top of the jar. Put the lid on, making sure the rubber ring stays in place. Add a clip to hold the lid on firmly.
Step 4
Place jars in Fowlers kit or saucepan, making sure the jars aren’t touching. Fill the saucepan with water to cover the jars if possible, or at least 3/4 of the height of the jar.
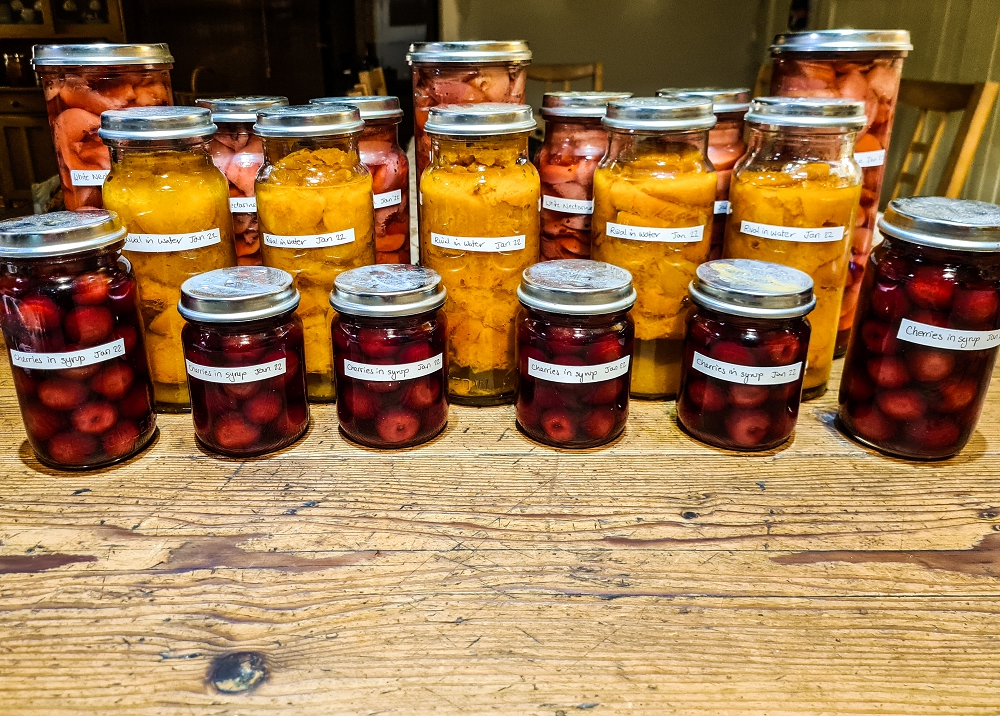
Step 5
Bring the water slowly to 92C, and hold at that temp for 45-60 minutes. Turn off the heat, and gently remove the bottles, pressing gently on the lids to make sure they’re well seated. Be careful not to burn yourself! Label, take a brag photo of your excellent work, and put in the pantry!
What other fruit can be bottled?
Apart from apricots, one of our favourite fruits to bottle is berries . We harvest lots of different types of berries over summer. We eat as many as we can, frequently cook with them, and usually put a few in the freezer. The rest go into bottles.
Over summer, we also bottle peaches, nectarines, apples, quinces, and pears. In fact, most fruit can easily be preserved by bottling.
It’s a wonderful low-energy way to preserve fruit for a long time—years, in fact. After the initial energy used for the preserving, the bottles are shelf-stable.
Related Articles
Will subtropical fruit trees work in your garden?
A lot of subtropical fruit comes from indigenous forest cultures, but that doesn’t mean you can’t grow it in your backyard.
Animals, fruit trees, and electric fences
Animals and fruit trees go well together if you can figure out how to enjoy the benefits without the animals doing too much damage.
Warming winter cakes with home-grown fruit
Bake delicious warming winter cakes from the fruit you’ve grown on the fruit trees in your own garden for extra satisfaction.
If you thicken your cooked berries with arrowroot then it thickens without going cloudy. You will need more arrowroot to thicken than if using cornflour.
I do preserve my fruit in a vacola but I’ve never heard of preserving berries I’ve googled it I don’t see much information do you just put the fruit and water in and preserve the same as other fruit
Do not put water with berries when bottling them, start them off with a low heat and enough juice will appear, bring to boil and bottle.
We preserve a lot of our blackberries so that they can be used in desserts over the colder months.
We have gone away from the vacola system and use screw top jars as we get them for nothing from friends and we purchase new lids at a cost of about 13 cents each and we find that we can reuse these for a number of years.
All of our excess fruit is preserved by bringing it to the boil and then putting into hot jars that have been washed and heated in the gas oven at 120 degrees for 20 minutes. The lids are put in a stainless steel bowl and steralised by pouring boiling water on them for several minutes. The lids must be completely dry befor putting them on the jars.