How to Prune Fruit Trees
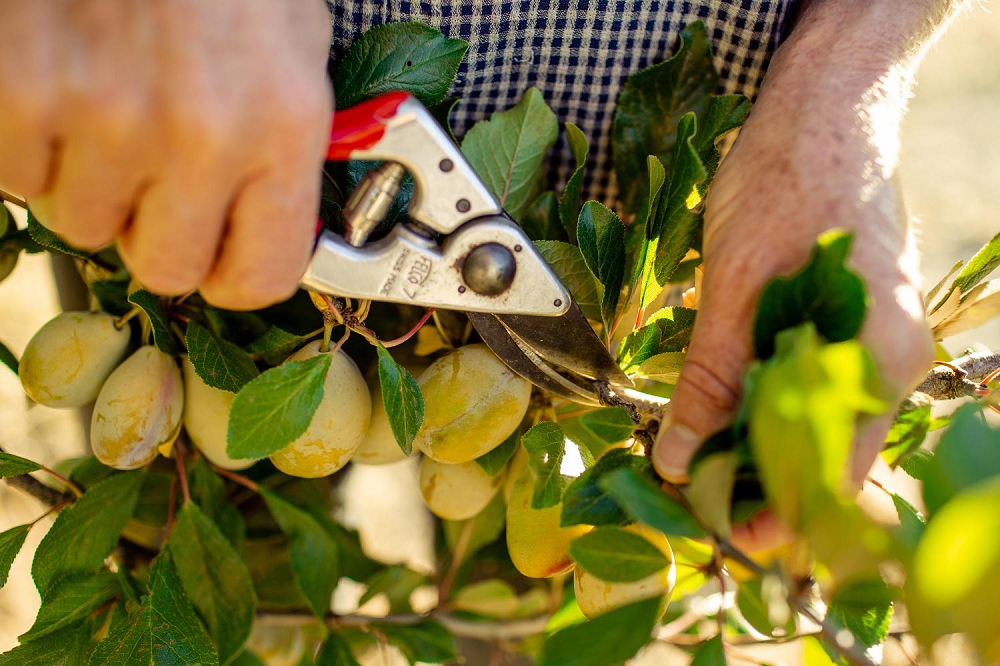
Pruning fruit tree blurb include how to prune fruit tree and fruit tree diagram that’s actually useful for the fruit trees in your garden. Blah blah more text here.
When to Prune Your Fruit Tree
Talking about “when” to prune your fruit tree, can mean several things. For most people, they’re wondering which is the best season for fruit tree pruning [link to “when to prune your fruit tree” page] for example whether you should prune in summer or winter.
There’s lots of conflicting advice out there in internet land, but we always stick to basic principles. In truth, there’s no “right” or “wrong”,time to prune your fruit trees, just cuts and consequences. If you prune the same tree in spring, summer or winter, for example, it’s likely to respond in different ways.
Which is the right season to prune your fruit tree?
Most trees are usually recommended to prune your trees in winter. For deciduous trees (that lose their leaves) this is the easiest time to prune them, for the simple reason that you can see the tree’s structure more easily when there are no leaves.
But there are some great reasons to prune some fruit trees at different times.
Pruning in summer. Generally speaking, if you prune your fruit tree in summer you’ll get a lesser growth response than if you prune the same tree at any other time of year.
Winter pruning promotes vigorous growth, while autumn pruning helps with healing and disease prevention. For some trees, the ideal time to prune is actually in spring.
How Old Should a Fruit Tree Be Before You Prune It?
The discussion about “when” to prune your fruit tree might also refer to the life-stage of your fruit tree.
Here at Grow Great Fruit, we divide this into three stages:
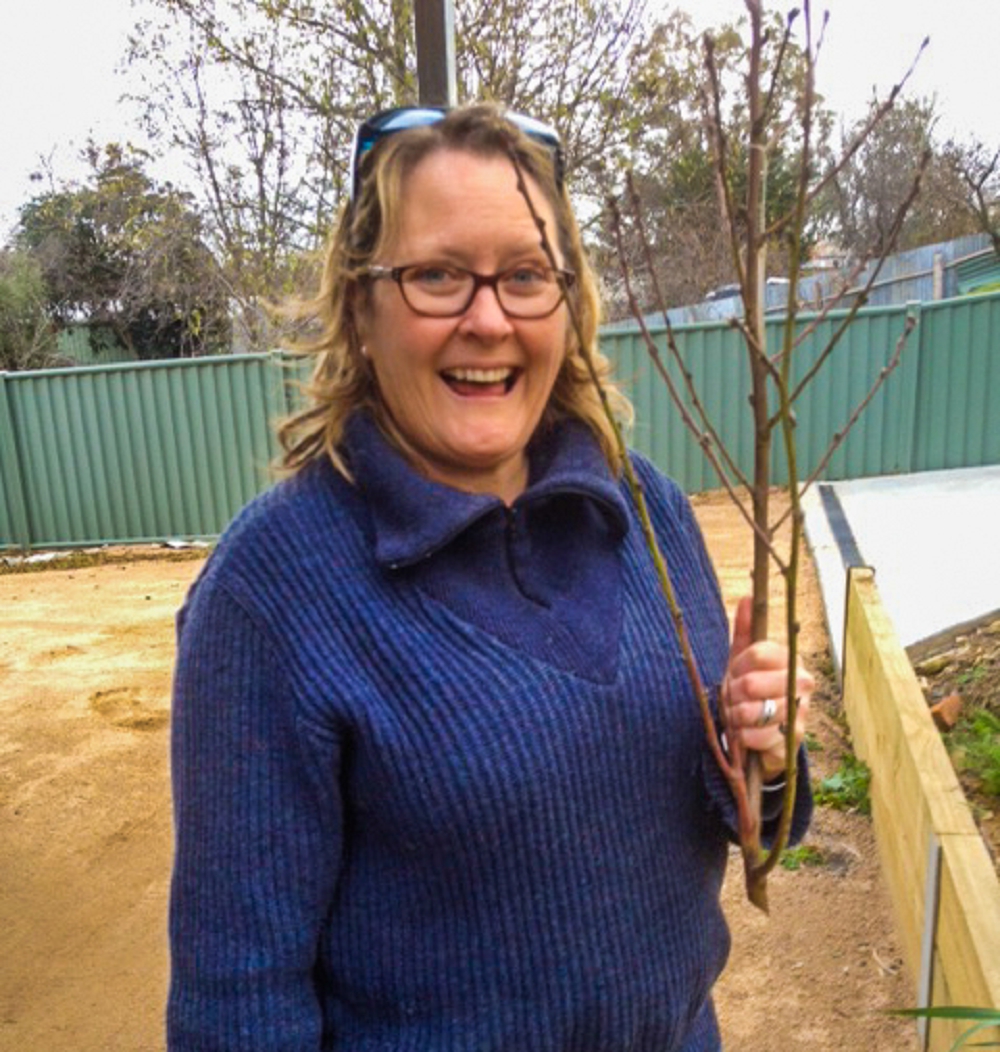
- Establishment pruning—starting the day you plant your fruit tree!
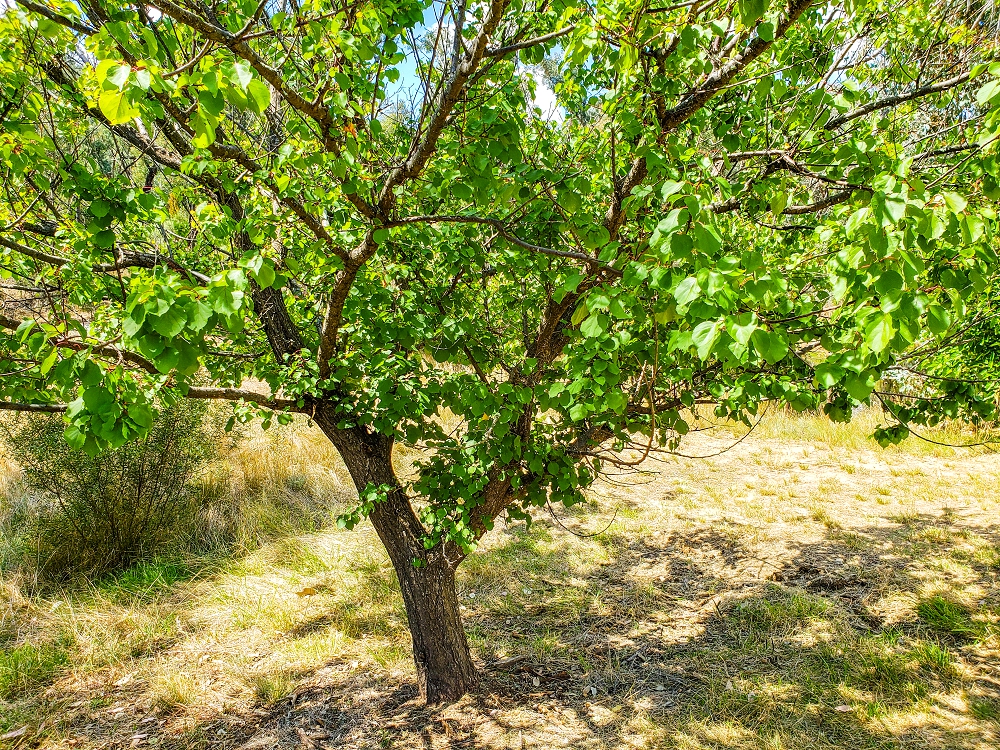
- Maintenance pruning—a system for pruning mature trees each year
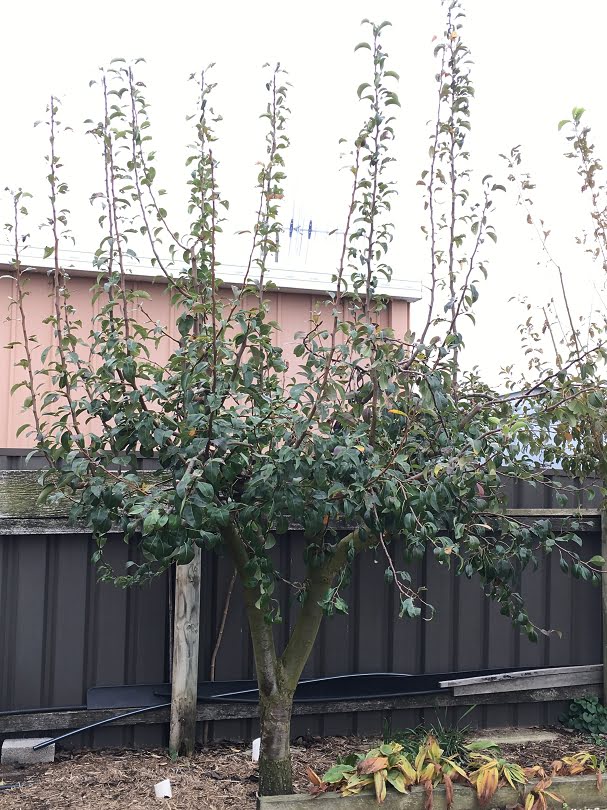
- Renovation pruning—how to tame big monster fruit trees
How to Prune Apple Trees
Pruning apple trees follows the same basic principles as other fruit trees—removing dead or crowded branches, shaping the tree for good airflow, and encouraging healthy growth. However, one key difference is knowing whether your tree is spur-bearing or tip-bearing, as this affects where fruit forms and how you should prune.
Spur-bearing apples produce most of their fruit on short, stubby spurs that last for years, so heavy pruning can reduce your crop. Tip-bearing apples, on the other hand, fruit at the ends of branches, meaning cutting too much off can remove next season’s apples. Before pruning, it’s essential to identify which type you have to avoid accidentally trimming away your harvest!
Pruning Starts With Knowing Your Tree
Before you grab the pruning shears, it’s crucial to understand the different parts of your fruit tree. Knowing the structure—like the branches, buds, and leaders—will guide you in making the right cuts. Buds are especially important since they’ll determine where new growth appears. For example, flowering buds grow on spurs, while leaf buds are located along the branches. Familiarizing yourself with these key parts is vital to ensuring you don’t accidentally remove growth that’s vital to your harvest. To get a deeper understanding, check out our post on how to know the parts of your tree before you start pruning.
Learning the Difference Between Leaf Buds and Fruit Buds
The success of your pruning also depends on distinguishing between fruit buds and leaf buds. While fruit buds are where the blossoms and fruit will form, leaf buds give rise to the leaves and new growth. Pruning mistakes, like removing fruit buds or cutting into the wrong part of the tree, can drastically affect your harvest. To learn more about identifying buds and making smart cuts, read our article on how to tell fruit buds from leaf buds.
Common Pruning Mistakes
Having told you there’s no “right” or “wrong” in pruning, it’s a bit mean to talk about pruning mistakes, right?
But it’s a fear we hear all the time!
One of the most common pruning mistakes is over-pruning, which can cause unnecessary stress on the tree and even impact fruit production. Cutting too much can remove important branches, forcing the tree to focus on regrowth instead of producing fruit. If you’re concerned about over-pruning, it’s worth checking to see if your tree may have been affected.
Repairing and Shaping Broken Fruit Trees
If you’ve experienced a break in your fruit tree, it’s important to repair and shape it properly to encourage healthy growth. With the right approach, you can even create a fruit tree sculpture by carefully cutting and guiding the tree’s new growth. Repairing broken branches quickly helps prevent disease and pest infestations, allowing the tree to heal and thrive. If you’re unsure how to handle a broken fruit tree, there are easy steps to get you back on track.
Once repaired, shaping the tree to maintain balance and structure is essential. Pruning damaged or excess branches will help ensure light reaches all parts of the tree, promoting stronger growth. Proper shaping also supports long-term productivity and health.
Preserving the Bounty from Your Apricot Tree
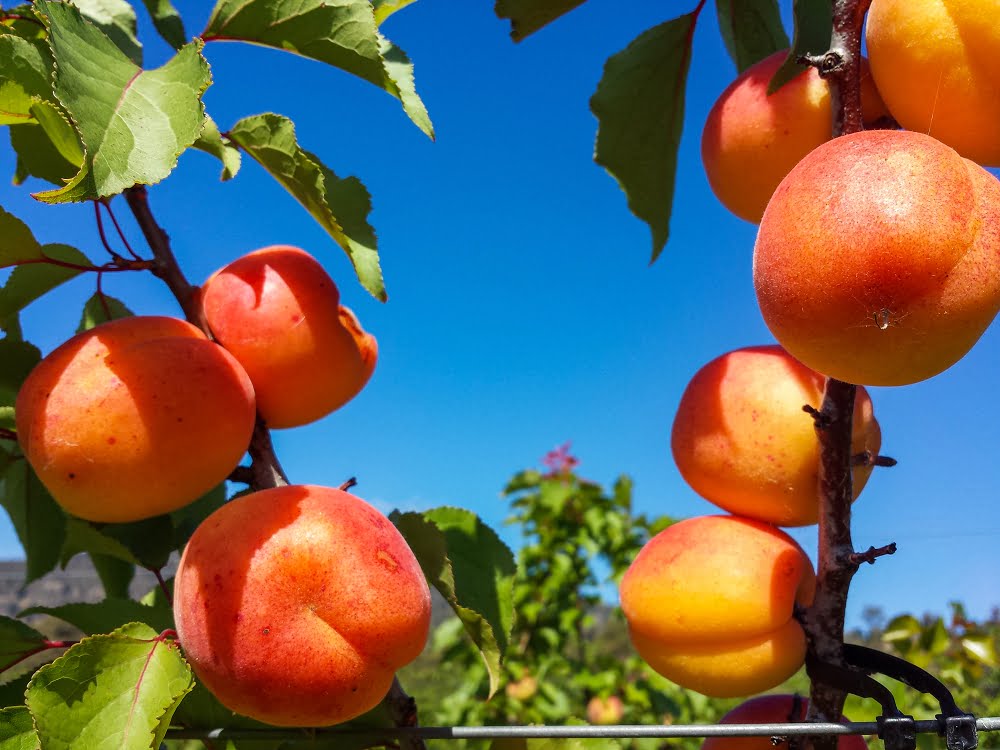
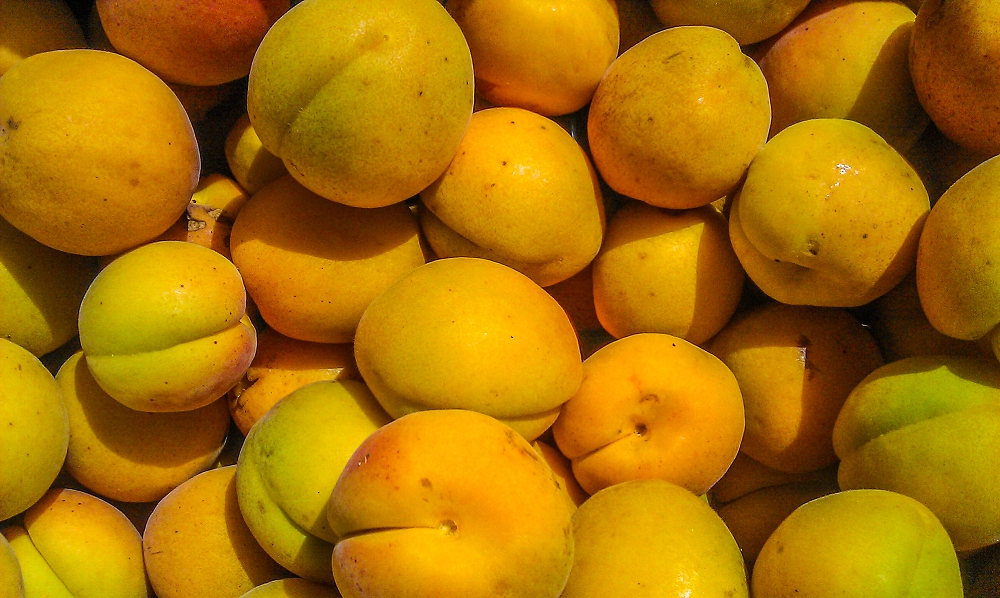
Apricots have got to be one of the most delicious fruits. The fact that they’re not available for very long, and are quite tricky to grow unless you live in the perfect climate, make them even more exotic and desirable.
So when you are lucky enough to get a good crop or can buy some from a local farmer, the first thing to do—obviously—is eat your fill.
After that, thoughts inevitably turn towards preserving the crop. This is another area where apricots excel, because there are so many fabulous ways of preserving them. Drying, freezing, bottling (canning), fancy vinegars, apricot curd, jam…the list goes on.
Two of our favourites are bottling (canning) them, and turning them into jam. Click on the boxes below for simple methods, recipes, and variety recommendations for each technique.
Need more help? Check out more resources about apricot trees.
Free Resources
Still keen to learn more about apricot trees? Excellent! It’s worth putting in the time to get the hang of growing these fickle beauties, because the rewards are so big—delicious, sun-ripened, home-grown apricots!
🍑 Download Apricot Grower’s Cheat Sheet
🍑 Why are there no apricots on my tree?
🍑 Which apricots make the most delicious jam?
🍑 Fourteen varieties of apricot trees: pros and cons
🍑 Apricot bottling (step-by-step)
Grow Great Fruit Program
Apricot trees giving you trouble? Let’s fix that—and set you up for your best fruit-growing year yet.
In the Grow Great Fruit program, we help you tackle apricot problems and we give you skills to grow healthier trees and bigger harvests across your whole orchard.
Each week you get a checklist of seasonal jobs to prevent issues before they start. There are step-by-step videos and guides on pruning, pest and disease prevention, and every other fruit growing topic.
Need answers? The Members Forum is full of answered questions from other growers who’ve been in your shoes. And Premium members get personal answers to questions from us for quick, expert support.
Let’s get your fruit trees thriving—this season and beyond.


![moorpark-apricot-half-500x358-150x150[1] Close up view of round, orange coloured apricot cut in half with the brown kernel sitting inside one half](https://growgreatfruit.com/wp-content/uploads/participants-database/2020/04/moorpark-apricot-half-500x358-150x150[1].jpg)
